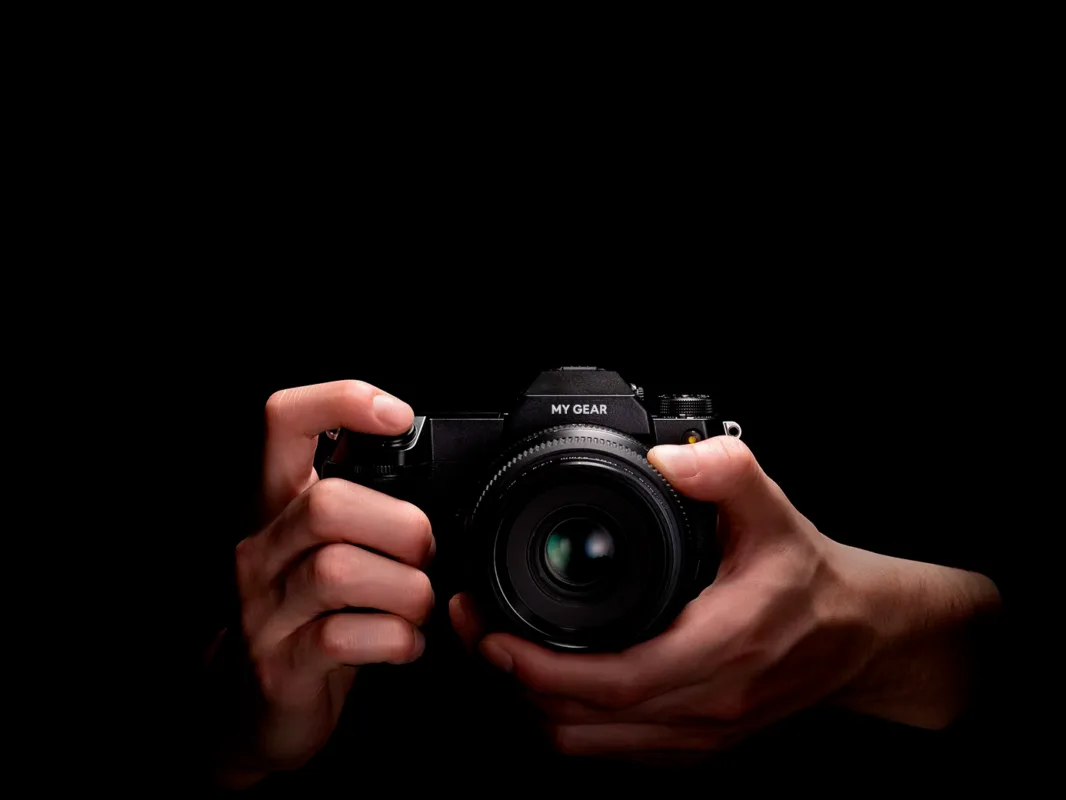
My 2026 Gear Ludwig Favre

2026 My Essential Gear

A Thoughtfully Chosen Setup

As an artist photographer who sells fine art prints, every piece of equipment I use has been carefully selected to ensure the best image quality, reliability, and efficiency. My gear is a balance of robustness, practicality, and design, allowing me to create high-quality photographs while maintaining a seamless workflow. Here’s an in-depth look at my setup and why I chose each piece.

Film Photography: Mamiya 7 II

For my film work, I rely on the Mamiya 7 II, a medium format rangefinder that delivers exceptional sharpness and stunning image quality. Its lightweight and compact design make it perfect for travel and street photography, while the 6×7 negative size ensures a level of detail that rivals large format cameras. The leaf shutter also allows for slower handheld shutter speeds without introducing blur.

My Preferred Film Stocks:

  • Kodak Gold 200 – A budget-friendly classic that produces warm tones and a nostalgic feel, perfect for sunny outdoor scenes.
  • Kodak Portra 400 – My go-to film for portraits and landscapes, offering excellent dynamic range, smooth skin tones, and great latitude in scanning.
  • Cinestill 800T – A cinematic, tungsten-balanced film that excels in low-light conditions, adding a unique glow to highlights.

Digital Photography: Fujifilm GFX 100S

For digital work, I use the Fujifilm GFX 100S, a medium format mirrorless camera with an incredible 102-megapixel sensor. This camera offers unparalleled detail, dynamic range, and color depth, making it an excellent choice for fine art prints.

Lenses I Use:

  • Wide-Angle Lens – Ideal for capturing grand landscapes, architecture, and immersive compositions.
  • Zoom Lens – Perfect for versatility, allowing me to frame compositions precisely without sacrificing image quality.

Filming & Behind-the-Scenes: Lumix S9 + DJI Osmo Pocket 3

To document my process and create engaging content, I use the Lumix S9 for filming and, from time to time, for still photography. Compact, refined, and efficient, it fits seamlessly into my workflow to capture clean footage and occasional stills when the moment calls for it. The DJI Osmo Pocket 3 remains dedicated to behind-the-scenes and travel vlogs, delivering smooth, cinematic stabilization in a discreet form factor.

Computing & Editing: The Backbone of My Workflow

Editing is just as crucial as capturing the shot, and my hardware ensures seamless processing of high-resolution files.

  • Mac Studio M4 Max – The powerhouse behind my workflow, handling large RAW files, complex retouching in Photoshop, and batch processing in Lightroom without any lag.
  • MacBook Pro M1 – My portable workstation for editing on the go.
  • iPad Pro 11” – Perfect for reviewing images, making quick edits, and client presentations.
  • BenQ PD3220U 32” Monitor – A color-accurate 4K display, essential for precise color grading and proofing my fine art prints.

Storage & Backup: Protecting My Work

Data security is non-negotiable in my workflow. I ensure that all my files are backed up in multiple locations.

  • Synology 24 TO
  • On the go LaCie Rugged 4 To

Carrying My Gear: The Best Camera Bags

Transporting gear safely while keeping it easily accessible is key. I switch between different bags depending on the shoot:

  • WANDRD PRVKE – A durable and weather-resistant backpack, perfect for travel photography.
  • Peak Design Everyday Sling 10L – Ideal for carrying a compact setup during street photography sessions.
  • Bellroy Camera Bag – A stylish yet functional option for casual shoots and urban photography.

Software: The Creative Tools I Use

I rely on Adobe Lightroom and Photoshop for my entire editing process, from RAW conversion to fine-tuned retouching. Lightroom allows me to organize, edit, and apply my custom presets, while Photoshop helps with detailed retouching and print preparation.

Conclusion: A Setup Built for Excellence

Each piece of my gear has been chosen with careful consideration, ensuring that I can produce the highest-quality images while maintaining an efficient workflow. Whether shooting film or digital, editing, or backing up my files, my setup is optimized for reliability, practicality, and aesthetic excellence.

If you’re interested in seeing the results of my work, check out my fine art prints, available in limited editions of 30.

📷 Photography & Video Gear

Film

Digital

Video & Behind the Scenes


🖥 Computing & Editing


💾 Storage & Backup


🎒 Camera Bags


🛠 Post-Production Software

  • Adobe Lightroom

  • Adobe Photoshop

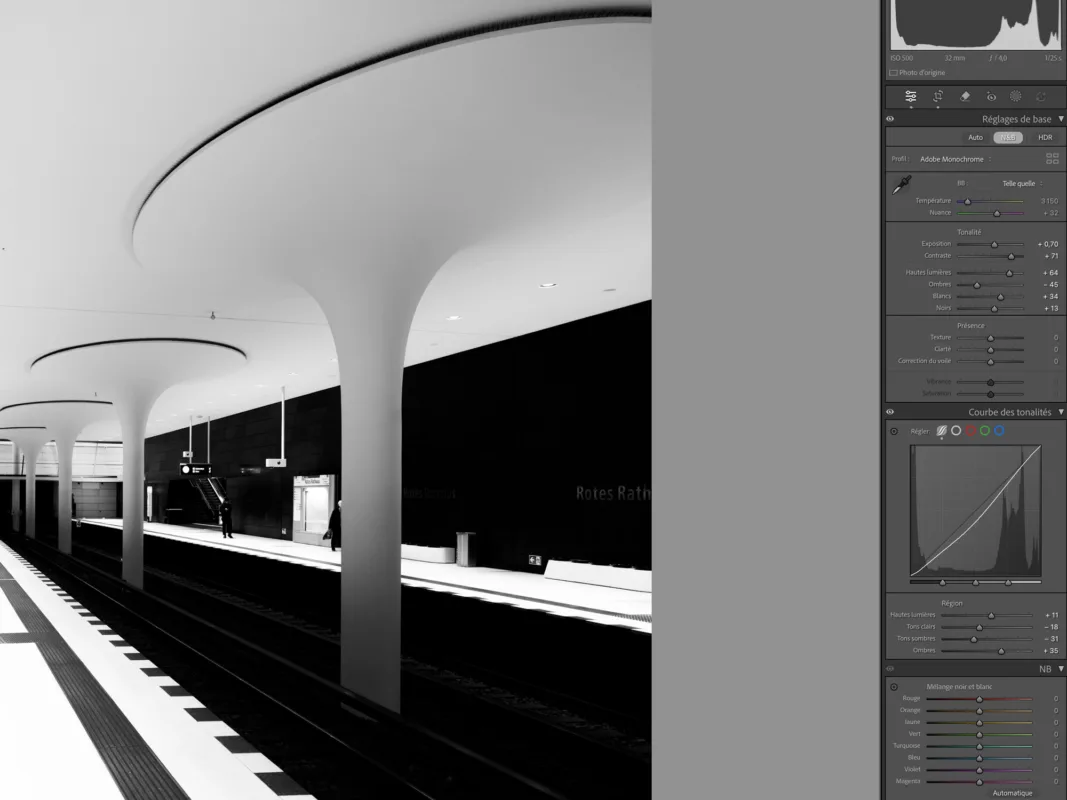
Quiet Paris metro platform with dramatic lighting — limited edition fine art print by Ludwig Favre

Why You Should Create Your Own Lightroom Presets | Photography Editing Guide

Why You Should Create Your Own Lightroom Presets (Complete Guide for Photographers)

In a world flooded with images, developing a strong and recognizable visual identity is no longer optional  it’s essential. Creating your own Lightroom presets allows photographers to control their color grading, editing workflow, and overall photography style with precision. Creating your own Lightroom presets is one of the most powerful ways to take control of your style, streamline your workflow, and elevate your photography to a professional level.

Whether you’re a photographer, content creator, or visual artist, custom presets are more than just filters. They are a creative signature.


1. Build a Strong Visual Identity with Lightroom Presets

Your preset becomes your visual language. By creating your own, you ensure consistency across your images colors, contrast, mood, and atmosphere all speak the same tone. Over time, people will recognize your work instantly, even before seeing your name.

A strong identity is what separates memorable photographers from the rest.


2. Stay True to Your Artistic Vision

Using ready-made presets can be tempting, but they often impose someone else’s aesthetic on your work. Creating your own presets forces you to analyze light, colors, and emotion  and translate your vision into precise adjustments.

You’re no longer following trends. You’re defining them.


3. Save Time in Your Photography Editing Workflow

Once your presets are dialed in, your editing process becomes faster and more efficient. Instead of starting from zero on every image, you begin with a solid creative foundation that you can fine-tune if needed.

This means more time shooting, creating, and refining your craft.


4. Learn Lightroom at a Deeper Level

Creating presets pushes you to truly understand Lightroom: tone curves, color calibration, HSL, split toning, and color grading. You stop editing by instinct and start editing with intention.

The result? Cleaner edits, better color control, and complete creative confidence.


5. Adapt Your Lightroom Presets to Any Shooting Situation

When you build your own presets, you know exactly how they react to different lighting conditions, cameras, and scenes. You can create variations  daylight, low light, high contrast, soft tones  all based on the same aesthetic core.

Your style stays consistent, no matter where you shoot.


6. Create Value Beyond Your Images

Custom presets can also become a product. Many photographers successfully sell or share their presets as part of their brand, offering insight into their creative process.

Your experience becomes value  for others and for your business.

Essential Steps to Create a Lightroom Preset

Creating a strong and reusable Lightroom preset requires structure, patience, and intention. Below is a complete, professional workflow from technical corrections to artistic decisions suitable for photographers progressing from beginner to advanced level.

1. Start With a Clean Base Image

Choose a well-exposed image shot in RAW, with neutral lighting and no extreme color casts. A preset should be built on a versatile image so it behaves consistently across different photos.

Avoid images that are already heavily edited.

2. Correct Exposure and Global Light

Begin with the Basic panel:

  • Exposure
  • Highlights
  • Shadows
  • Whites
  • Blacks

Your goal is balance. Make sure highlights are not clipped and shadows retain detail. This step defines the technical reliability of your preset.

3. Adjust Contrast and Tonal Structure

Next, refine contrast using:

  • Contrast slider
  • Tone Curve (Parametric or Point Curve)

Use the tone curve to shape your image subtly. Gentle S-curves add depth, while flatter curves create softer, more muted looks.

This stage determines whether your preset feels punchy, soft, cinematic, or natural.

4. Set the White Balance Intentionally

White balance should be adjusted before heavy color work. Decide whether your style leans warm, cool, or neutral.

A consistent white balance philosophy is crucial for presets that work across multiple lighting situations.

5. Refine Colors Using HSL

The HSL panel is where your preset gains personality:

  • Hue: shift specific colors
  • Saturation: control intensity
  • Luminance: manage brightness of colors

Pay special attention to skin tones (oranges and reds) and dominant colors in your photography.

6. Use Color Calibration (Advanced)

Calibration allows deeper control over color rendering at the sensor level. Small adjustments here can significantly affect overall harmony.

This step is often overlooked but separates amateur presets from professional ones.

7. Apply Color Grading to Define Mood

Now shape the emotional tone of your image using Color Grading:

  • Shadows
  • Midtones
  • Highlights

Keep it subtle. Color grading should enhance the image without overpowering it. This step gives your preset its signature atmosphere.

8. Add Presence and Texture Carefully

Use tools like:

  • Texture
  • Clarity
  • Dehaze

Apply with restraint. Overuse can make presets harsh or unusable across different images.

9. Optional: Add Grain or Effects

If your style includes a film or vintage feel, add grain or vignette lightly. These should remain optional and adaptable.

10. Save and Test Your Preset

When saving your preset:

  • Exclude exposure if you want flexibility
  • Test on multiple images with different lighting
  • Refine and adjust based on results

A good preset evolves over time.


Conclusion: Why Creating Your Own Lightroom Presets Matters

Creating your own Lightroom presets is a key step toward building a strong photographic identity and mastering your editing workflow. For photographers evolving from beginner to advanced level, presets are not shortcuts  they are tools for consistency, intention, and creative growth.

When your colors, contrast, and mood become recognizable, your work gains impact and credibility. Over time, your presets stop being simple settings and become part of your signature.


Frequently Asked Questions About Lightroom Presets

What are Lightroom presets?

Lightroom presets are saved editing settings that allow you to apply consistent color grading, contrast, and tonal adjustments to your photos in one click.

Should beginners create their own Lightroom presets?

Yes. Creating presets helps beginners understand how Lightroom works and develop good editing habits early, instead of relying on generic filters.

Can Lightroom presets work on all photos?

Presets are a starting point. Lighting, exposure, and camera settings vary, so minor adjustments are often needed after applying a preset.

Can I sell my Lightroom presets?

Absolutely. Many photographers sell presets as digital products, offering their unique style and expertise to others.


Take Your Editing Further

If you want to speed up your workflow and achieve a consistent, professional look, creating your own presets is the best place to start.

You can also explore professionally crafted Lightroom presets designed for real-world shooting conditions  built to be flexible, natural, and easy to adapt.

Your style deserves more than a generic filter. Build it, refine it, and share it.

But if you don’t have the time or the desire to create your own presets from scratch, you can find my Lightroom presets ready to use instantly by following the link below.

Buy Ludwig’s Presets

Berlin By Ludwig Favre Fine Art Prints

How to Overcome the Fear of Filming or Shooting in Public: The Art of Confidence for Creators

The Art of Creating Without Fear

How to Overcome Fear and Build Confidence in Street Photography

There’s a strange feeling that hits you the moment you take out a camera in the middle of the street.
People walking by, the noise of traffic, and that small voice whispering that everyone is watching you.

But here’s the truth: no one really cares.
Most people are too busy wondering what others think of them to actually judge you.

When you decide to leave everything behind to live from your passion photography, video, art, whatever it is you must face that fear head-on.
Because if you don’t, the alternative is worse: a life spent in a routine job five days a week, dreaming of what you could have done.


Confidence Is a Muscle, Not a Gift

The first time you film yourself talking to a camera in public, it feels ridiculous.
You imagine people staring, judging, whispering. But they aren’t. They’ll glance for two seconds, then move on.

Confidence doesn’t appear overnight. It grows every time you push through discomfort.
Each moment you tell yourself I don’t care what they think, you reclaim your freedom to create.

Like any muscle, confidence strengthens with repetition.
The more you shoot, the more you film, the less you notice the world around you.
Your focus shifts entirely to your craft, to the light, to the scene unfolding in front of you.

But always remember this: street photography is not about invading people’s space.
It’s about respect, observation, and storytelling.
The camera should never feel like a weapon it’s a bridge between you and the world.


Why You Shouldn’t Fear Looking Stupid

Creativity demands a bit of madness.
The difference between those who create and those who don’t isn’t talent it’s courage.
The courage to look foolish for a moment, to take a risk, to say yes when everything
in you says not today.

That fear you feel is a sign you’re doing something real.
If it were easy, everyone would be doing it.


Next Time You’re in the Street

When you’re about to film that YouTube clip or raise your camera to capture a candid moment, and that voice inside says they’ll think I’m an idiot talking to myself, smile.
That voice isn’t your enemy it’s your compass.
Because behind it lies the person you want to become: fearless, creative, alive.

So the next time you hesitate, remember this simple truth:
Nobody’s watching. Everyone’s just living their own story.
And you’re finally starting to live yours.


Your Turn

How do you deal with people’s eyes when you’re filming or photographing strangers in the street?
Do you have any tricks or ways to stay calm and confident when the world is watching or when it feels like it is?
Share your experience in the comments, your advice might help someone take that first brave step.


Ludwig Favre fine Art Prints

The Joy and Nostalgia of Travel Photography

The Joy and Nostalgia of Travel Photography

Travel photography has always been, for me, a mix of two emotions: the joy of discovery and the quiet nostalgia of knowing that every moment I capture will never happen again.

The beauty of discovering new places

There’s a special kind of happiness that comes with arriving somewhere new.
The air smells different. The light moves in unexpected ways. Every color feels slightly unfamiliar, and that unfamiliarity inspires me.

When I travel with my camera, I’m not just documenting a location. I’m listening to it.
Light bouncing off a wall, a reflection in a café window, someone walking through a frame at the perfect second these small details tell a larger story.

The nostalgia of frozen moments

Every photograph is a celebration, but also a quiet goodbye.
The light fades, the shadow moves, the silence shifts, and the image becomes a memory.
Photography lets me hold time still, but only for an instant. That bittersweet feeling is what keeps me inspired.

Less gear, more freedom

With time, I’ve learned that I don’t need a heavy backpack full of lenses.
I now prefer to travel light, with one or two cameras, each with a single lens.
Limitation brings freedom. It forces me to see differently, to focus on composition, light, and instinct instead of gear.

Carrying less has helped me reconnect with the spontaneity that first made me fall in love with photography, the pure joy of seeing, creating, and experimenting without rules.

Finding meaning in travel photography

In the end, travel photography isn’t only about distance or destinations.
It’s about being present, noticing how light touches a wall, how silence fills a space, how ordinary moments become extraordinary through attention.

So I’ll ask you:
What drives you to take photos when you travel  the discovery, the nostalgia, or the joy of creating something that will never exist again?

Berlin By Ludwig Favre Fine Art Prints

Photography Is Boring Now And It’s Our Fault, Thanks to Instagram

There was a time when photography required risk. You had to think before you shot. You had to see.

Now everyone’s a “photographer.” Everyone has presets, AI retouching, and that same moody orange-and-teal look. Scroll through Instagram and you can predict the next frame before it loads.

Photography has become a wallpaper factory  perfectly exposed, technically flawless, and utterly lifeless.

Instagram Standardized the Way We See

Instagram didn’t just change how we share photos  it changed how we see. It standardized color palettes, framing, and even the places people photograph.

The same pastel cafés, misty forests, and turquoise beaches appear over and over. Creators copy what gets likes and views, because the algorithm rewards sameness.

In chasing engagement, we’ve traded creativity for conformity.

AI Didn’t Kill Photography We Did

Many blame AI for destroying creativity. That’s lazy. AI didn’t take our jobs  it took our clichés.

The algorithm learned from us: reflections in puddles, drone symmetry, shallow-focus portraits. AI didn’t invent these tropes. We did. And we repeated them until they became meaningless.

We trained the machine to imitate us  and it succeeded.

Fear Replaced Creativity

Today’s photographers are scared to stand out. Everyone avoids “bad light,” “wrong color balance,” or an “imperfect” feed.

But imperfection is where emotion lives. A slightly missed focus, a strange shadow, an accidental reflection  that’s life.

We’ve sterilized photography in exchange for approval. We’re creating for hearts, not for honesty.

The Truth About Gear

The Fujifilm X100VI, Leica Q3, Sony A7R V  amazing tools, yes. But cameras don’t create wonder. You do.

Still, we talk about “the Leica look” or “Fuji colors” like sacred dogma. Those are marketing myths.

If your photo has nothing to say, no sensor in the world can save it.

The Way Out: Rebellion, Not Nostalgia

The solution isn’t to romanticize the past it’s to rebel against sameness.

Shoot film. Shoot digital. Shoot on a phone or a potato if it moves you. Just stop copying.

Photography doesn’t need more perfection. It needs humanity, mistakes, honesty.

We’re drowning in beautiful noise  but starving for meaning. The only way to fix it is to make something real again.

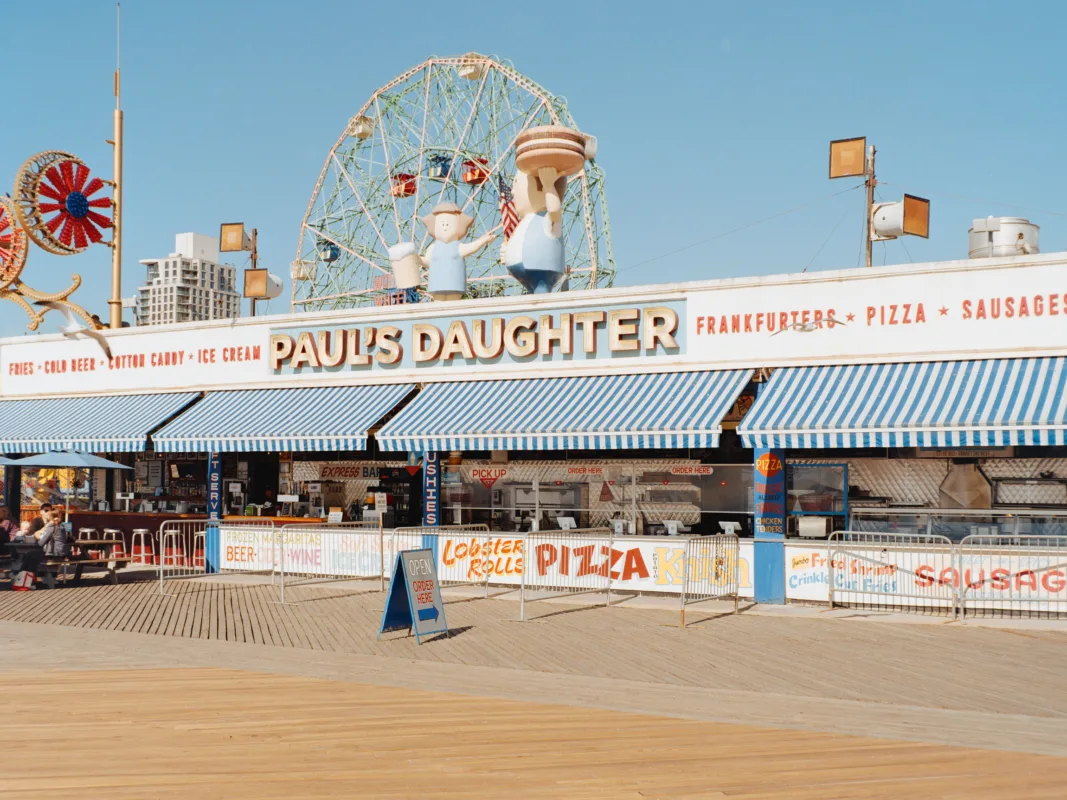
Coney island Fall 2024 Very limited Fine Art Prints Ludwig Favre

Why AI Will Never Replace Photographers

Why AI Will Never Replace Photographers: Creativity, Ethics, and the Value of Uniqueness in Photography

Generative artificial intelligence (AI) has revolutionized the digital landscape, offering the ability to create hyper-realistic images from simple text prompts. As this technology advances, there’s an ongoing debate about whether AI could eventually replace human photographers. While AI’s capabilities are impressive, it raises significant questions about creativity, ethics, and the irreplaceable value of human artistry in the world of photography.

Photography: A Unique Reflection of the Human Soul

Photography goes beyond capturing images; it is a personal art form shaped by the photographer’s unique experiences, vision, and soul. Each photograph carries emotional depth, telling a story through the photographer’s lens.

AI, however, cannot create truly original content. Instead, it generates images based on patterns in existing data, lacking the personal narrative and emotional connection that human photographers bring to their work. The true value of a photograph lies not only in its visual appeal but in the irreplaceable essence of the artist’s personal journey and humanity.

AI’s Dependence on Human Creativity

AI, despite its impressive ability to imitate, is ultimately a tool dependent on human creativity. AI systems are trained on vast datasets, which consist of images created by photographers and other artists. Without these foundations, AI would have no material to generate visuals.

This highlights an important point: AI can imitate and replicate, but it cannot innovate without human input. As long as humans continue to create, AI will have something to build upon but it can never replace the originality of human artistry.

The Ethical Dilemma: Exploitation of Photographers

One of the most pressing ethical issues surrounding AI in creative fields is the way AI systems are trained. AI models often rely on vast amounts of data scraped from the internet, including works created by photographers, without their consent or compensation. This raises concerns about exploitation, as photographers and artists unknowingly contribute their work to systems that could eventually compete against them.

This lack of recognition and fair compensation undermines the value of human creativity and threatens the livelihood of many artists.

The Value of Uniqueness: Why Human Created Photography Endures

AI-generated images face a fundamental flaw: their lack of scarcity and uniqueness. Unlike photographs, which are one of a kind, AI generated images can be replicated infinitely. This infinite reproducibility diminishes the value of the artwork, turning it into a mere commodity.

In contrast, a photograph created by a human is a unique artifact a moment in time captured through the eyes of the artist. Its value is not only in its rarity but also in the personal connection between the photographer and the image. Each photograph offers a snapshot of a specific moment in history, infused with the creativity, emotion, and vision of the artist.

Why Human Created Art Will Always Be Irreplaceable

When someone buys a photograph, they’re not just purchasing an image they’re investing in a piece of history, a personal story, and a timeless work of art. Human created art holds intrinsic value because it tells a unique story, one that no machine can replicate. The connection between the viewer and the creator is an irreplaceable aspect of the art-buying experience.

Protecting Creativity: Ensuring Ethical Use of AI in Photography

While AI can be a powerful tool for photographers, it should never replace human creativity. To maintain a sustainable and ethical creative ecosystem, it’s important to:

  • Advocate for fair use policies that ensure artists are compensated for the works used to train AI models.
  • Educate buyers about the difference between AI generated images and human made art, emphasizing the unique value of the latter.
  • Celebrate the authenticity and exclusivity of human creativity in the art world.

Conclusion: AI Will Never Replace Human Photographers

While AI may assist photographers and even imitate their styles, it will never be able to replace the creativity, personal history, and emotional depth that human photographers infuse into their work. The infinite reproducibility of AI generated images erodes their value, reducing them to disposable commodities.

Human-created photography, on the other hand, offers something unique a singular moment captured through the lens of an artist. This photograph is not just an image; it’s a piece of history, a creative act that will never be replicated.

As we move forward, it’s crucial to protect the value of human creativity in the face of advancing technology. When you invest in a photograph created by a human, you’re investing in a piece of art, a story, and a moment in time that will never happen again. And that is something no machine can ever replicate.

What Are Your Thoughts on AI in Photography?

As AI continues to evolve in the creative world, do you see it as a tool for enhancing creativity or a potential threat to photographers? Let’s discuss in the comments below I’d love to hear your thoughts!

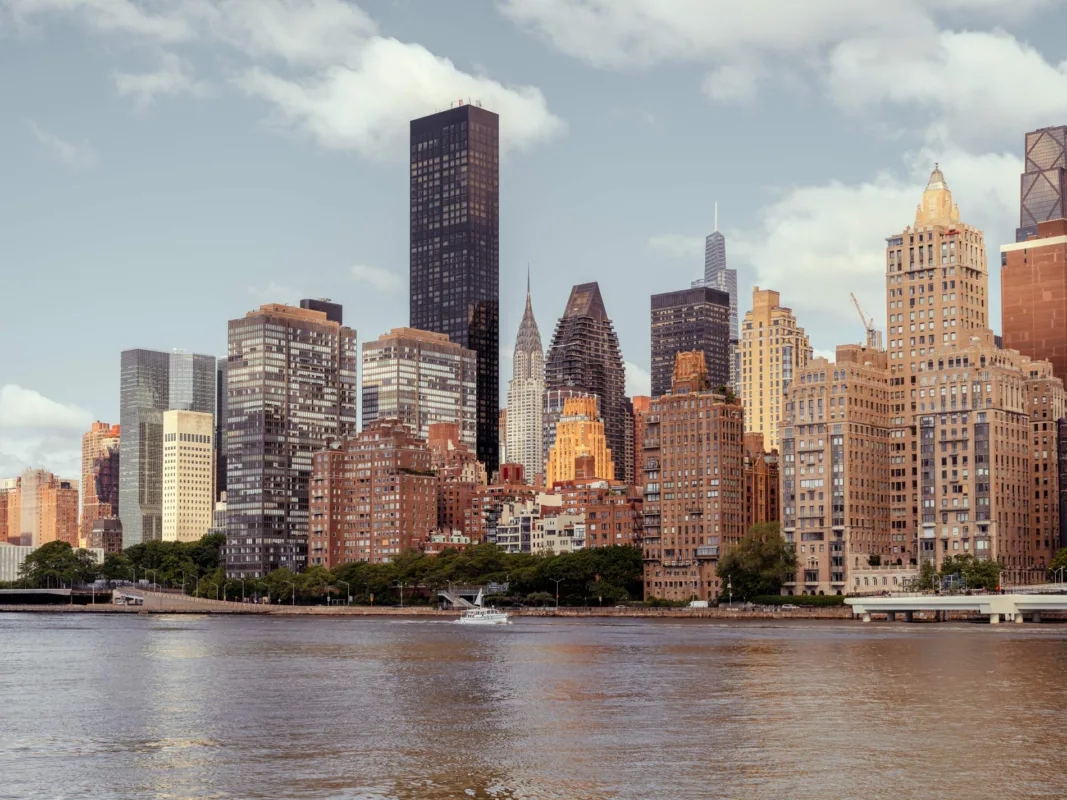
The New yorkers

From RAW to Remarkable

How to Develop a Unique Editing Style for Photography: A Guide for Creatives

In the digital age, post-processing has become an essential part of photography. While capturing the perfect shot is the first step, editing allows you to bring your creative vision to life and make your work truly stand out. Developing a unique editing style takes time and experimentation, but it’s one of the most rewarding aspects of being a photographer.

Why Does an Editing Style Matter?

Your editing style is your visual fingerprint it’s what makes your work instantly recognizable. Whether it’s bold, saturated colors or soft, muted tones, your editing choices convey mood, emotion, and narrative. A consistent editing style helps establish your photography brand and builds trust with your audience, whether they’re scrolling through Instagram or browsing your portfolio.

Steps to Develop Your Signature Editing Style

1. Start with a Solid Foundation

Editing can’t fix a poorly captured image, so focus on the basics during your shoot: composition, lighting, and exposure. The better the original photo, the more room you’ll have for creative edits.

2. Experiment with Different Editing Tools

Every photo editing tool offers unique features that can help shape your style. Start with industry-standard software like Adobe Lightroom or Photoshop. Learn how to use key functions such as:

  • Tone curves for fine-tuning contrast
  • HSL sliders for precise color adjustments
  • Split toning for adding subtle color grading
  • Presets to speed up your workflow while maintaining consistency

3. Study What Inspires You

Look at the work of photographers whose styles you admire. What stands out in their work? Is it their color grading, shadow detail, or the mood they create? Analyze their work without copying it, and think about how you can adapt similar techniques to fit your own vision.

4. Play with Color

Color is one of the most powerful tools in editing. Decide on the color palette that resonates with your vision:

  • Vibrant and warm tones evoke energy and optimism
  • Cool and muted hues often feel calm and introspective
  • Monochrome is timeless and emphasizes texture and form

Don’t be afraid to adjust individual colors using tools like the HSL panel to create a harmonious or distinctive look.

5. Be Consistent

Consistency doesn’t mean every photo needs the exact same treatment, but your work should feel cohesive. Create a set of go-to adjustments or presets that align with your aesthetic. This is especially useful when working on a series or curating a portfolio.

6. Know When to Stop

Over-editing is a common pitfall. While it’s tempting to push sliders to the extreme, subtlety often results in a more polished image. Step away from your work and revisit it with fresh eyes before calling it finished.

Tips for Finding Inspiration

  • Look Beyond Photography: Draw inspiration from art, films, or fashion. These mediums often emphasize mood and tone, which can inspire your edits.
  • Experiment with Trends: Stay true to your style but experiment with current trends to refine your aesthetic.
  • Seek Feedback: Share your edited photos with trusted peers or mentors. Constructive criticism can provide valuable insights.

Showcasing Your Editing Style

Once you’ve developed a signature editing style, make sure your audience sees it. Curate your social media profilesand portfolio to reflect your aesthetic. Consider offering before-and-after examples or editing breakdowns to engage your followers and show the thought process behind your work.

Create a Unique Editing Style

Creating a unique editing style isn’t an overnight process it’s a journey of discovery and refinement. As you experiment, learn, and grow, you’ll develop a look that’s unmistakably yours.

Ready to Begin Your Editing Journey?

Your editing style is waiting to be discovered. Don’t hesitate to experiment, learn, and grow! If you’re looking for a head start, my carefully crafted Lightroom presets are available. They’re designed to help you achieve consistent, professional-quality edits effortlessly, whether you’re working with landscapes, urban scenes, or portraits.

Explore my presets here and take your photography to the next level. Share your before-and-after photos or your editing process in the comments, and inspire others on their journey. If you’re looking for tailored advice or feedback, reach out I’d love to help you refine your vision.

Let’s create something remarkable together.

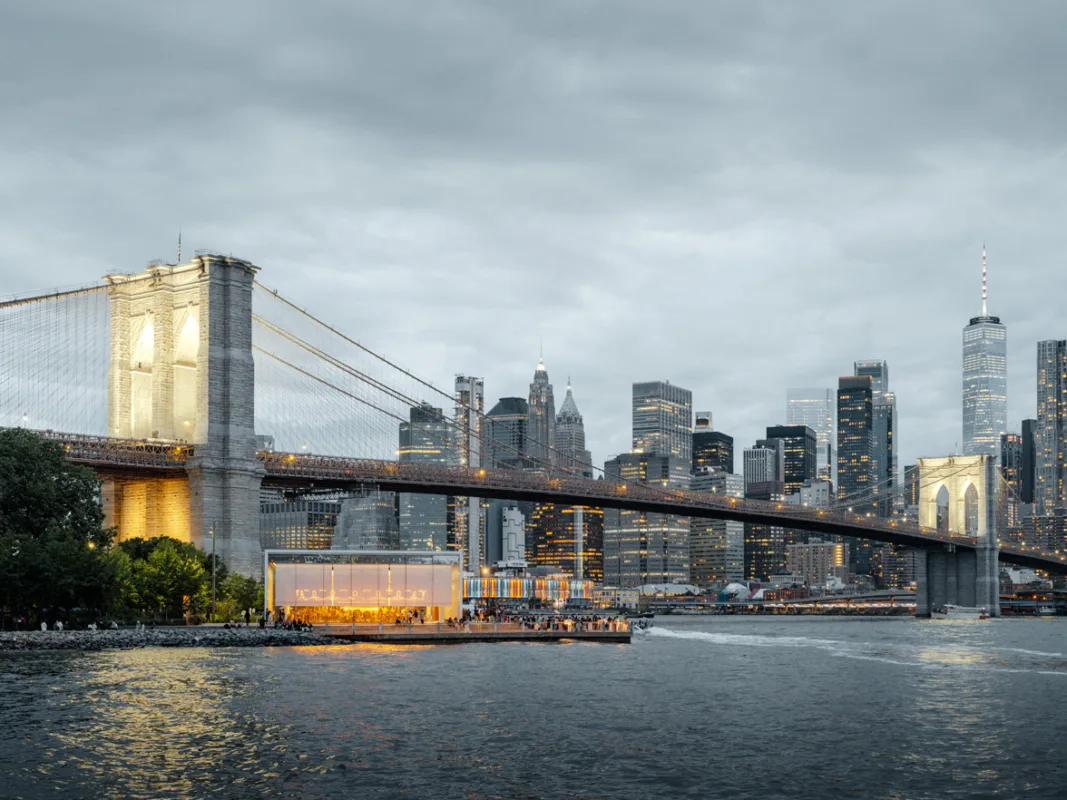
The Brooklyn Bridge and Manhattan skyline at dusk with a river boat — limited edition fine art print by Ludwig Favre

The Art of Street Photography, Capturing the Soul of a City

Street photography is more than capturing urban scenes  it’s a way to reveal the subtle details that make up the soul of a city, a community, or even a single neighborhood. In this guide, we explore the techniques and artistic choices that help photographers capture the essence of a place, from Paris to New York, and even the small towns of Wyoming.

Every city has a story to tell. Street photography lets you capture spontaneous moments, faces, and atmospheres and reveal unexpected aspects of urban environments that most people walk past every day.

The New yorkers

1. Observe Before You Capture

Before taking out your camera, take time to feel the energy of the city. Whether it’s the buzz of New York, the timeless romance of Paris, or the peacefulness of a small town in Wyoming, each place has a unique atmosphere.

Walking through the streets, observing interactions, and understanding how light interacts with the architecture and the people will refine your photographic eye long before you press the shutter.

2. The Importance of Spontaneity

The beauty of street photography often lies in its spontaneity. The best shots are rarely planned  they happen. A shared smile, a shadow dancing on a wall, a seemingly mundane scene that suddenly tells a deeper story.

You need to be quick, but also patient. Ready to capture the perfect moment when it arrives  and to wait when it doesn’t.

The best street photography often comes from the moments you weren’t expecting.

3. Using Your Environment

Cities are full of details that can transform an ordinary photo into something extraordinary: reflections in shop windows, the interplay of light and shadow, contrasts between old and modern architecture.

Learn to spot these elements and incorporate them into your compositions to give your shots depth and meaning. The environment isn’t just a backdrop  it’s a character.

4. Connecting with People

Photographing people in the streets can be intimidating, but it often adds the essential human touch your image needs. Be respectful  and sometimes, interact with the people you’re capturing.

That brief human connection brings an emotional and authentic dimension to your photos that no telephoto lens can replicate.

5. Techniques for Successful Street Photography

  • Use natural light. In street photography, natural light is your best ally. Learn to read it  golden hour creates soft atmospheres; harsh noon light gives you graphic, high-contrast frames.
  • Work in black and white. Monochrome is particularly powerful in street photography because it strips away distraction and lets the viewer focus on shapes, textures, and emotion.
  • Stay light and discreet. A compact camera like the Leica Q3 or Lumix S9 lets you blend into the crowd. Discretion is what gets you the authentic moment instead of a posed reaction.

Conclusion

Street photography is an art that demands both patience and quick reflexes. It’s about being attuned to your environment and knowing how to capture those fleeting moments of life that reveal the essence of a city.

Whether you’re shooting in Paris, New York, or a small town in Wyoming, every place offers unique opportunities to tell a story through your lens. Stay open. Stay curious. The best photographs are the ones you didn’t plan for.

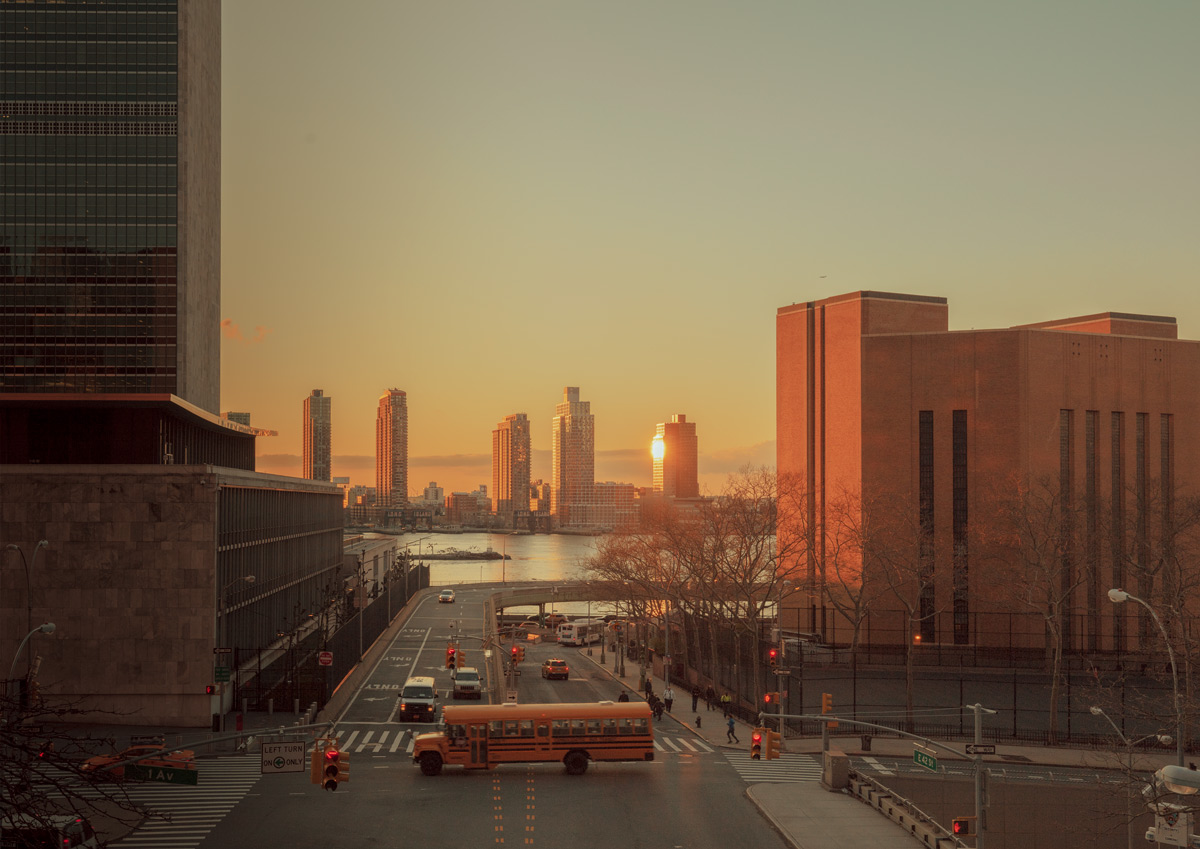
i LOVE NEW YORK Fiilm Photography Ludwig Favre

Returning to Film Photography

Explore the Beauty of Medium Format Film Photography

Through the lenses of two iconic cameras the Hasselblad 500CM and Bronica RF 645 this article explores the timeless approach to capturing light, detail, and emotion with film. Paired with the rich tones of Kodak Portra films, these cameras offer a magical experience that blends old-school technique with modern artistry. We’ll delve into the characteristics of these analog systems, the magic of Kodak Portra, and why film still holds a place in today’s digital world.

Rediscovering Film in a Digital Age

In a world dominated by digital photography, there’s something magical about returning to the roots of the medium with film. Medium format cameras like the Hasselblad 500CM and Bronica RF 645 provide a tactile experience that goes beyond pixels. Shooting with these cameras encourages a slower, more intentional process, helping photographers frame with care and appreciate the distinct qualities of film. When combined with Kodak Portra films, renowned for their fine grain and stunning color reproduction, the results are both timeless and captivating.

1. The Hasselblad 500CM: Timeless Precision

The Hasselblad 500CM is an icon in the world of medium format photography, built with precision and offering a modular design that allows photographers to swap out lenses, film backs, and viewfinders.

  • Handling and Build Quality: With its solid, mechanical construction, the Hasselblad 500CM forces photographers to slow down and carefully consider each shot. Its waist-level viewfinder offers a unique perspective, encouraging creative compositions.
  • Lens Quality: Equipped with Zeiss lenses, the Hasselblad delivers outstanding sharpness and contrast, especially when paired with Kodak Portra films. Whether shooting portraits or landscapes, this combination produces a cinematic quality that stands out.
  • The Hasselblad Experience: Using the Hasselblad is about more than the final image. The sound of the shutter, the manual winding of the film each step immerses you in the tactile art of photography.

2. The Bronica RF 645: Portability Meets Medium Format

While the Hasselblad 500CM is often considered a studio camera, the Bronica RF 645 offers a more portable solution for street photographers or travelers seeking the benefits of medium format.

  • Rangefinder System: The Bronica’s rangefinder mechanism provides a distinct shooting experience compared to the reflex mirror system of the Hasselblad. It’s more compact and discreet, ideal for documentary or on-the-go photography.
  • Ergonomics and Design: Featuring a vertical 6×4.5 frame, the Bronica RF 645 is perfect for portraits, offering a natural perspective. Its lightweight design and ergonomic controls make it easy to carry for long periods, unlike bulkier medium format systems.
  • Shooting in the Wild: The Bronica RF 645 is well-suited for capturing spontaneous moments while still delivering the detailed, nuanced images characteristic of medium format. Paired with Kodak Portra, it excels in producing beautiful, natural skin tones and stunning image quality.

3. Kodak Portra Films: The Soul of the Journey

What ties the Hasselblad and Bronica together is Kodak Portra film. Available in ISO 160, 400, and 800, Portra is celebrated for its natural skin tones and exceptional color fidelity, making it a favorite among portrait photographers.

  • Kodak Portra 160: Best suited for well-lit outdoor conditions, Portra 160 delivers fine grain and rich detail. When used with either the Hasselblad or Bronica, it excels at rendering vibrant yet soft colors, perfect for landscapes and gentle portraiture.
  • Kodak Portra 400: The most versatile of the Portra family, Portra 400 handles a range of lighting conditions with ease. It retains detail in both highlights and shadows, making it ideal for everyday shooting, from controlled studio light to unpredictable street scenes.
  • Kodak Portra 800: When low light becomes an issue, Portra 800 steps in. While it introduces more grain than the other versions, it retains the signature Portra color qualities, making it perfect for evening portraits, concerts, or indoor shots without sacrificing image quality.

4. Why Shoot Film in a Digital World?

In a time when digital cameras offer convenience and precision, why choose to shoot film especially medium format, which demands more time, patience, and skill? The answer lies in the unique qualities of the images produced by these analog systems.

  • Dynamic Range and Color Depth: Kodak Portra films provide a dynamic range and color depth that digital cameras often struggle to match. The highlights roll off smoothly, and the tones appear more organic and natural.
  • The Film Aesthetic: There’s a charm in the look of film the grain, the subtle imperfections, and the unpredictability. This aesthetic adds character and depth to the images that digital post-processing often attempts to replicate but rarely achieves.
  • Slowing Down the Process: In a world where digital photography can feel instantaneous, film forces a slower, more deliberate approach. With only 12 to 16 shots per roll in medium format, each frame becomes more valuable, leading to more thoughtful compositions and a deeper connection to the subject.

5. The Challenges and Rewards of Analog Photography

While shooting with the Hasselblad 500CM and Bronica RF 645 is rewarding, it’s not without its challenges.

  • Manual Focus: Both cameras require manual focus, demanding practice and patience, especially in fast-moving situations.
  • Limited Shots: With medium format film, you only get 12 to 16 shots per roll, so each frame becomes precious. Unlike digital, there’s no “spray and pray” method.
  • Film Costs: Film and development costs can add up, but the reward is in the tactile experience of holding a well-exposed negative or slide in your hand.

Conclusion:

Shooting with the Hasselblad 500CM and Bronica RF 645, combined with Kodak Portra films, is more than just a photographic journey ’s a return to the essence of the art form. These cameras, paired with the richness of Portra, provide a shooting experience that transcends megapixels and post-processing. Whether capturing the fine details of a landscape or the subtle tones of a portrait, these tools allow you to slow down, focus on composition, and create timeless, beautiful images.

Pale brick arches and light within a Copenhagen church — limited edition fine art print by Ludwig Favre

Q&A architecture photography with Adobe

Q&A with Adobe
Architecture photography

Ludwig Favre

Paris-based architecture photographer Ludwig Favre is known for his pastel-infused images of California and the desert that often draw comparison to a Wes Anderson film.
Favre shares how he achieves his signature style and why for him, a photo never feels finished.


How did you get into photography and what drew you to architecture in particular?
When I was 6 my father showed me how to create a photo using film and a chemical bath. I started doing it professionally about six years ago. Before that I was at an agency doing art direction, and before that I worked for French TV. Picture and motion are a part of my life. When I was at the agency I started selling my photos to galleries, and that made it easier for me to leave my job and do photography full time. In Paris we have a lot of monuments, so when I was a child my father showed me a lot of monuments and took me to exhibitions. It was a part of me. I need to discover new things and experiment with different points of view.

Where do you find inspiration?
From the movies. As a child I watched a lot of films, like the original Blade Runner, and films from Stanley Kubrick. This obsession with the center line shows up a lot in my photos. I also find inspiration from painting and music. I listen to a lot of American music like The Doors and Jimi Hendrix. I lost my father when I was very young and it’s something that reminds me of when he was here.

What do you think makes a great architecture photo and what excites you about a shot?
It’s a good subject combined with good light (not overexposed) and a good moment. I try to have good symmetry and a point of view. When I discover a new place it’s always exciting. My heart beats a lot because I want to capture what I feel in that moment. It’s difficult sometimes for people with me because I run immediately to take what I see. It’s because I’m afraid of losing this moment which matters to me in terms of photography — a certain light or a person may enter the framework of my camera and make the perfect scene.


How would you describe your style and how do you achieve it?
I think it’s about my colors. I have a particular color palette with softer pastels. I don’t know where it comes from, but it’s a representation of my feelings about that moment, place, and time. I want to embellish reality, which can sometimes be very hard  it’s kind of like a dream world. It’s something I create after the shoot in both Lightroom and Photoshop. I prefer shooting in the summer and in the morning. Sometimes I like to take a picture at noon when the light is very harsh. A lot of photographers don’t like to shoot at noon, but the colors are interesting at this time. In terms of the sky, the blue is more electric then.

What are the biggest challenges in shooting architecture photography?
Sometimes I get to a location that I’ve seen on Google Maps and it’s not the same. It can be totally different because of construction, or you don’t have the good weather, or the light is not the same in June as in December. What I see and what I want is not always the same, so it’s difficult.


What’s inside your camera bag?
I have two lenses, a 16–35mm and a 24–70mm. I have two camera bodies, an ND-10 filter for long exposure, a remote, a tripod, a MacBook Pro, two hard drives, four to six SD cards, a DJI drone, a little light (because when I shoot at night I need to see what I’m doing), my iPhone, and my iPad Pro that I use the most when traveling for retouching. My favorite lens is the 24–70mm, because it’s the most versatile for street or landscape photography. But when I’m inside I always use the 16–35mm because I have a wide angle with this one.

What would you suggest as a starter kit?I recommend above all a good lens  a 16–35mm or a 24–70mm to start. This allows you to be versatile and to capture not only architecture, but also landscape or street photography. The camera should be 24mp minimum to be able to make enlargements of good quality. The more millions of pixels, the more details you will have. Phone cameras now have algorithms to improve your images, and you can use them to capture street photography in a very spontaneous way or even landscapes. It’s a tool that you always have in your pocket, and it makes for a very good backup camera.


What are some common beginner mistakes you can learn from?
I’d say it would be not looking for original angles or grasping the way to build a photo, and also using the automatic mode of your camera. I think when you don’t know the basics of photography and don’t play with the aperture, for example, you lose the creativity of the composition.   

What are your favorite Lightroom tools? Do you have any tips for using presets?
My favorites are for color adjustment because my pictures are about the colors. And the Geometry tool. I think it’s very important for me to have a good perspective and to place my principal subject in the center of my photo. I use the Contrast, Highlight, and the Black adjustment presets every time. I use them to create something different in my images. In terms of presets, it’s necessary that your settings reflect your creativity  you need to find a good adjustment between reality and your vision. I adjust enormously the cyan of my photographs to give them a very past dimension. By playing with the red, yellow, and the blue you will create your own photographic style.


How do you use Photoshop for editing?
I use the Curve tool and I use Photoshop for color correction. When I work on an image I always use Lightroom first (and sometimes only Lightroom), but I often use Photoshop to correct my colors and remove what I don’t like. And I like to save my work in Photoshop because I export in 300dpi, so it’s good for large-format images. 

How do you choose what to edit and how do you know when it’s finished?
When I do a shoot, I always have a photo that‘s talking to me more than the other ones  because of symmetry, cropping, or even the light because of that moment. A picture is never finished for me. I never like what I do. I always think I can do better. When I come back to it after, I say “No, it’s not what I want.” But sometimes I see my photo and think okay, stop, it’s finished It’s something I create after the shoot in both Lightroom and Photoshop by Adobe. You can’t do any better. 


How has COVID-19 changed the way you work?
It’s very difficult for a photographer like me who wants to travel. I have a road trip to California, New Mexico, and Utah planned, but due to the pandemic I don’t know when I can leave. And I want to go to Greenland to do a project with the white polar bears. Not being able to find a new place to shoot right now is very frustrating. I have to think differently and find another place because I can’t stay here and wait to see what’s happening.

What has photography brought to your life?
It’s a big change. I feel free because I can do what I want, when I want. I can’t stay in the same place for a week without moving. It’s a real liberty to do what you love the most and earn money for it, so it’s just incredible. What’s even more wonderful is being able to share my work with everyone because photography is a testimony to the world around us. It’s not just about capturing a moment it’s about creating something unique and personal. It’s something I create after the shoot, using both Lightroom and Photoshop by Adobe.

I’m very lucky.

Learn more on Adobe.com