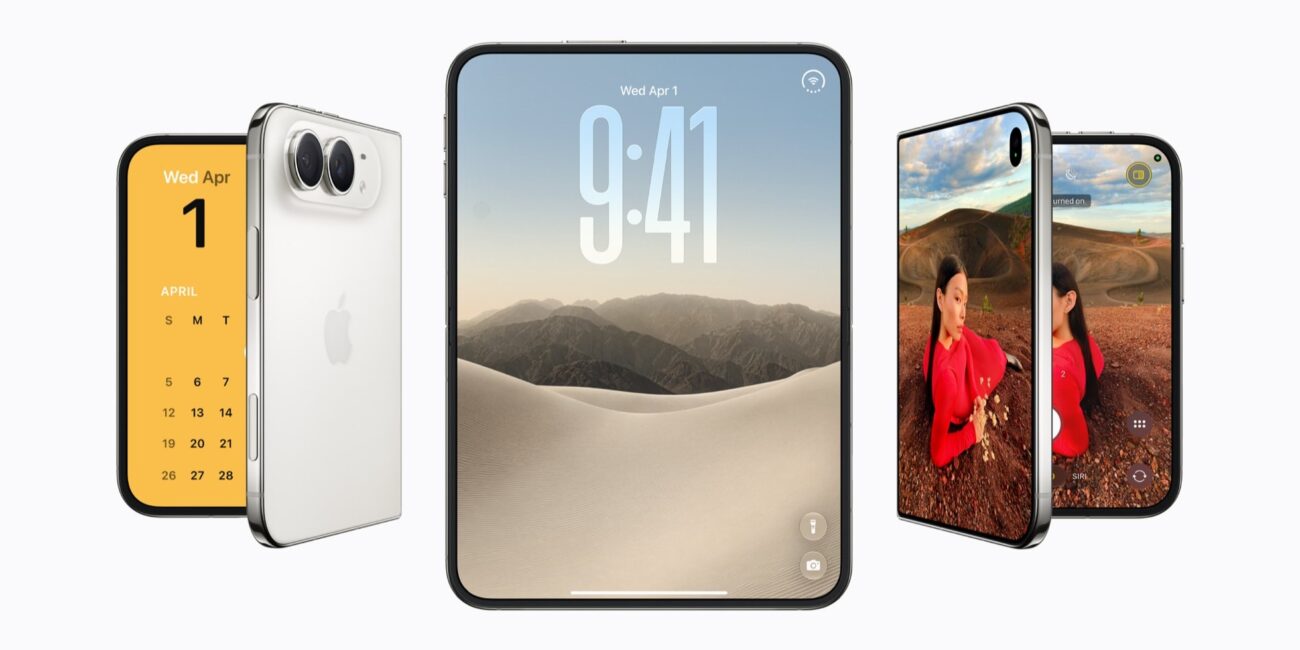
Three iPhone Duo devices, folded and unfolded, showing the camera, a lock screen and a portrait photo. Image: Apple
Blog, Camera Reviews

The iPhone Duo: A Study in Mobile Workflow and Computational Photography

Is the iPhone Duo really that bad for photography? Many people say yes. It shoots no RAW and has no zoom lens. On paper, that looks like a serious handicap for iPhone Duo photography.

I wanted to know if these limits hurt every day. So I shot Paris with it, from churches to quiet streets. This article answers three questions. Do you need RAW on an iPhone? What do you lose against an iPhone 18 Pro Max? And what do you gain in portability?

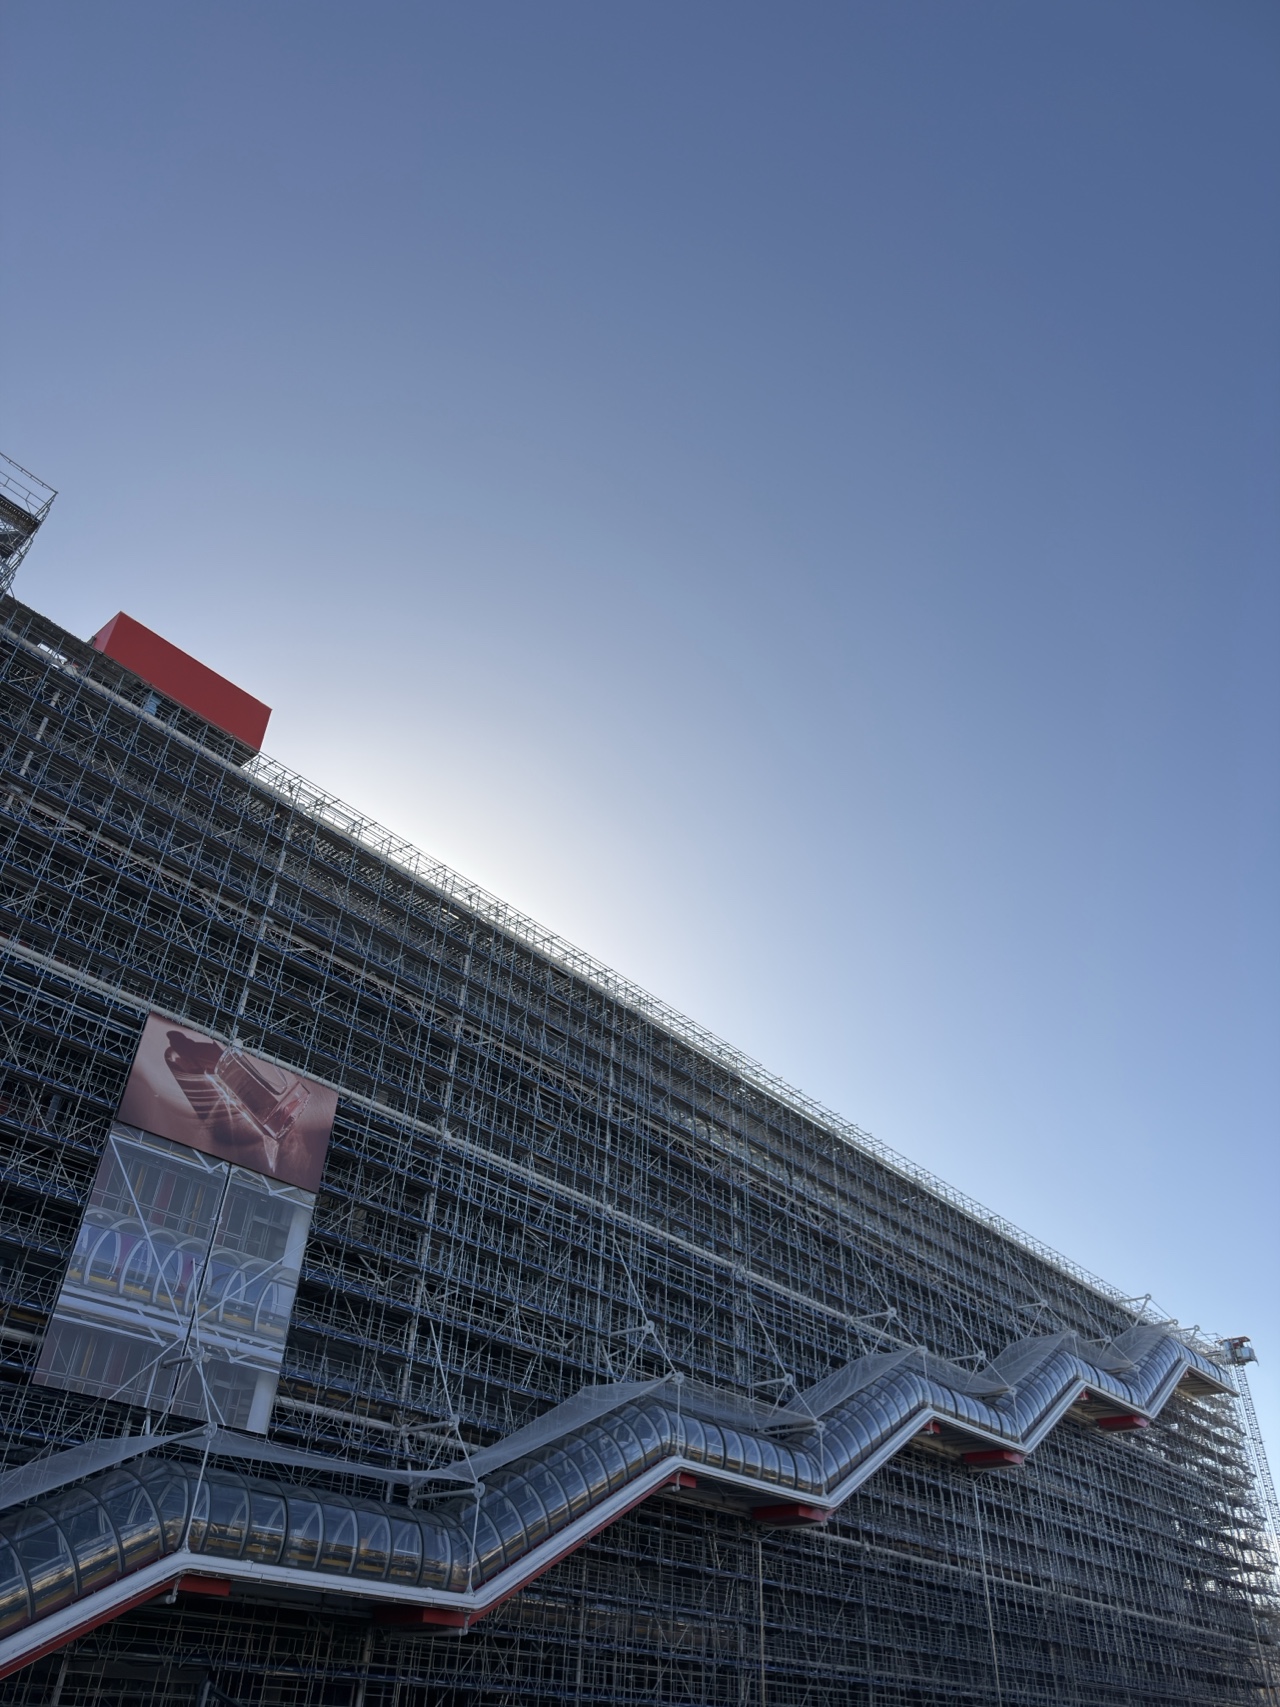
Centre Pompidou in Paris wrapped in scaffolding, shot from below under a blue sky with the iPhone Duo

Is iPhone Duo Photography Really Held Back by No RAW and No Zoom?

First, the Duo shoots no RAW. It saves HEIF files instead. Second, it has no telephoto lens, so you cannot zoom into distant subjects. Everyone repeats these two criticisms.

However, ask a different question. Do these limits stop you from making good photographs? For my work, they rarely do. I shoot streets, buildings and light, and I walk close to my subjects.

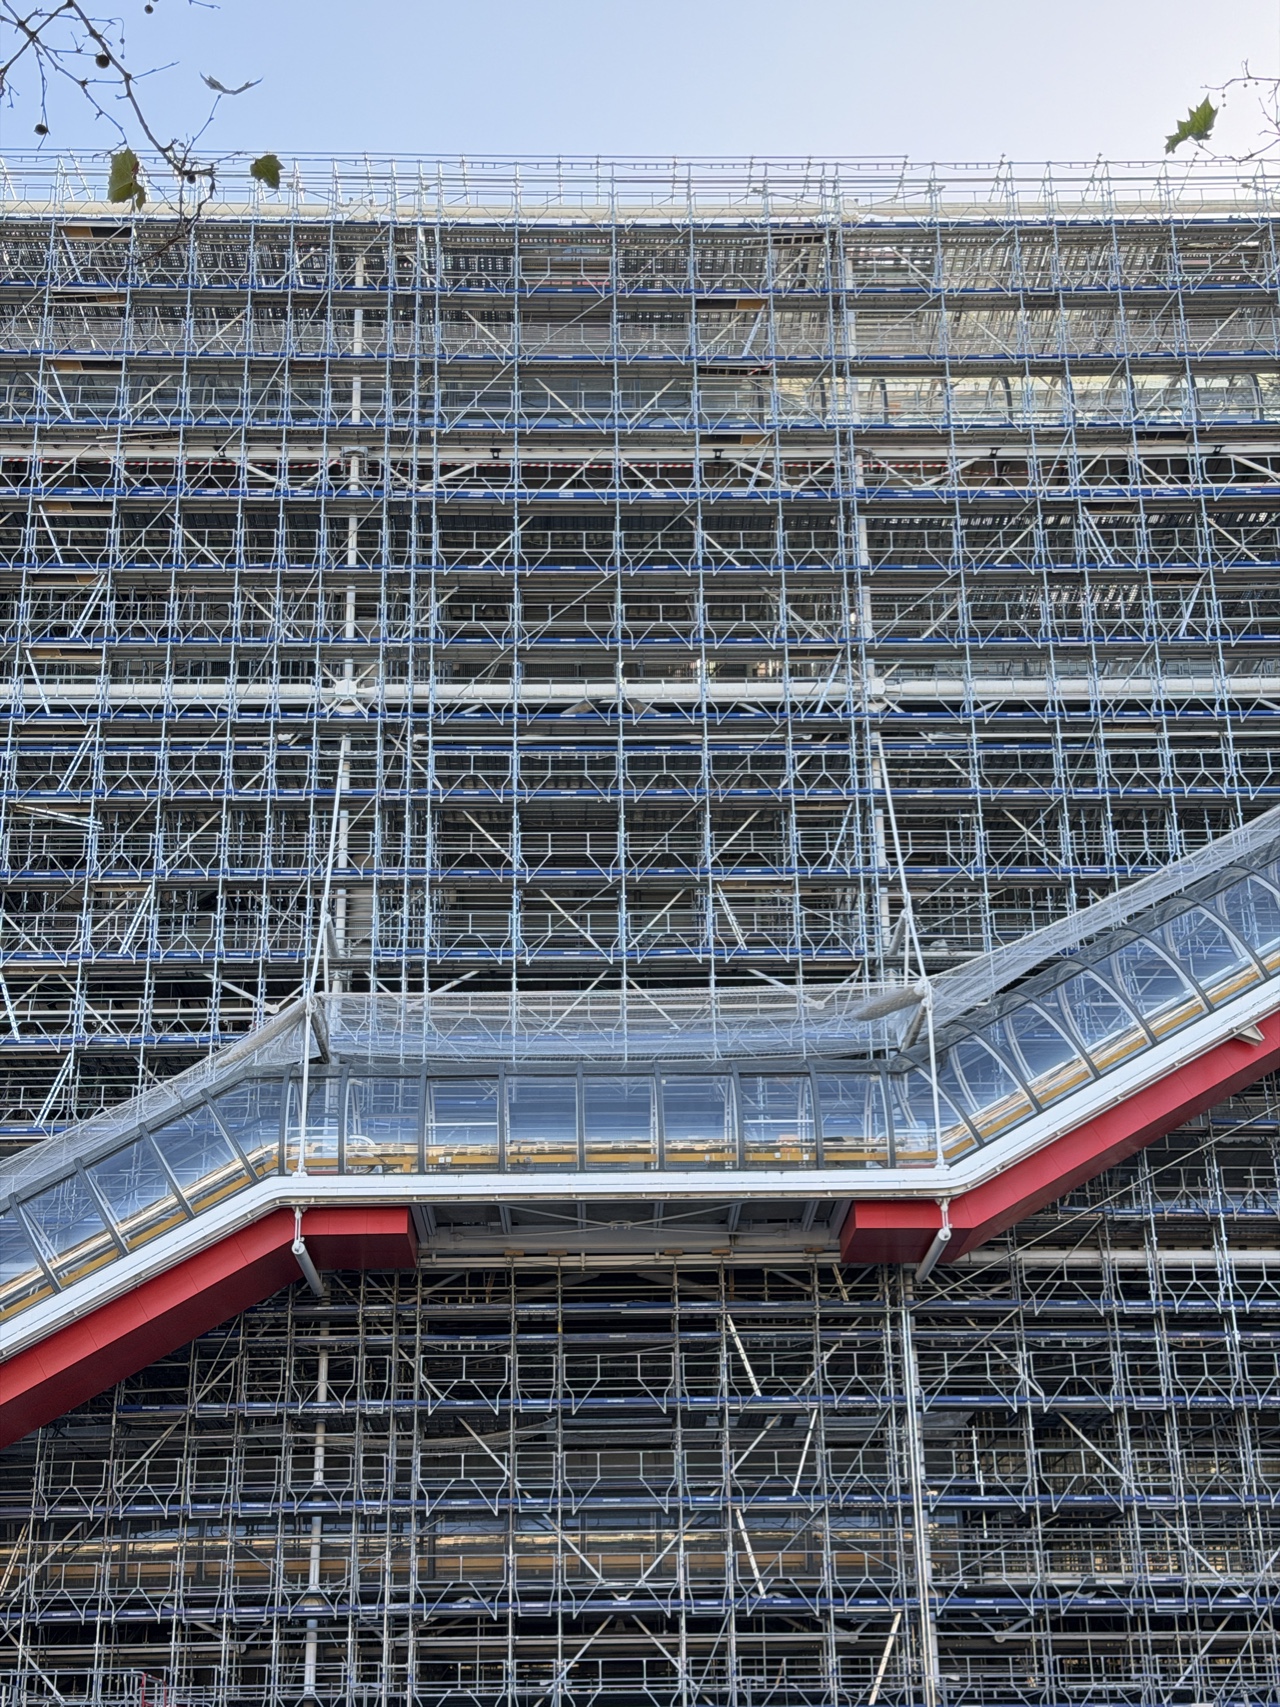
Also, having no zoom changes how you shoot. You move your feet and choose your frame. As a result, these views of the Centre Pompidou and its sky come from position, not magnification.

Close detail of scaffolding and a red escalator tube on the Centre Pompidou facade in Paris
Deep blue sky with a white cumulus cloud above a line of trees

Do You Really Need RAW on an iPhone?

RAW gives you the most data. Yet most iPhone photos never need that much. HEIF files keep rich color and a wide tonal range, so you can still edit them well.

Gradients and fine textures are where RAW usually helps most. Yet look at the sand ripples and the soft sea below. Both frames keep their tones well in HEIF.

RAW matters when you rescue blown highlights or push deep shadows. In that case, a camera or the Pro Max serves you better. However, for everyday street and travel images, HEIF is enough.

Soft wind-blown ripples in pale sand
Lone sailboat on a gray sea seen from the dunes under a cloudy sky

iPhone Duo vs iPhone 18 Pro Max: What Changes in Practice?

The iPhone 18 Pro Max offers RAW and a zoom lens. Therefore, it wins when you need reach or maximum editing latitude. The Duo cannot match that.

However, the Pro Max remains a classic phone. You shoot with it, then you edit on a small screen. Otherwise, you carry a tablet for the editing.

The Duo makes a different trade. You give up zoom and RAW. In return, you get a large unfolded screen. That screen changes how you work.

Is the Image Quality Still Good?

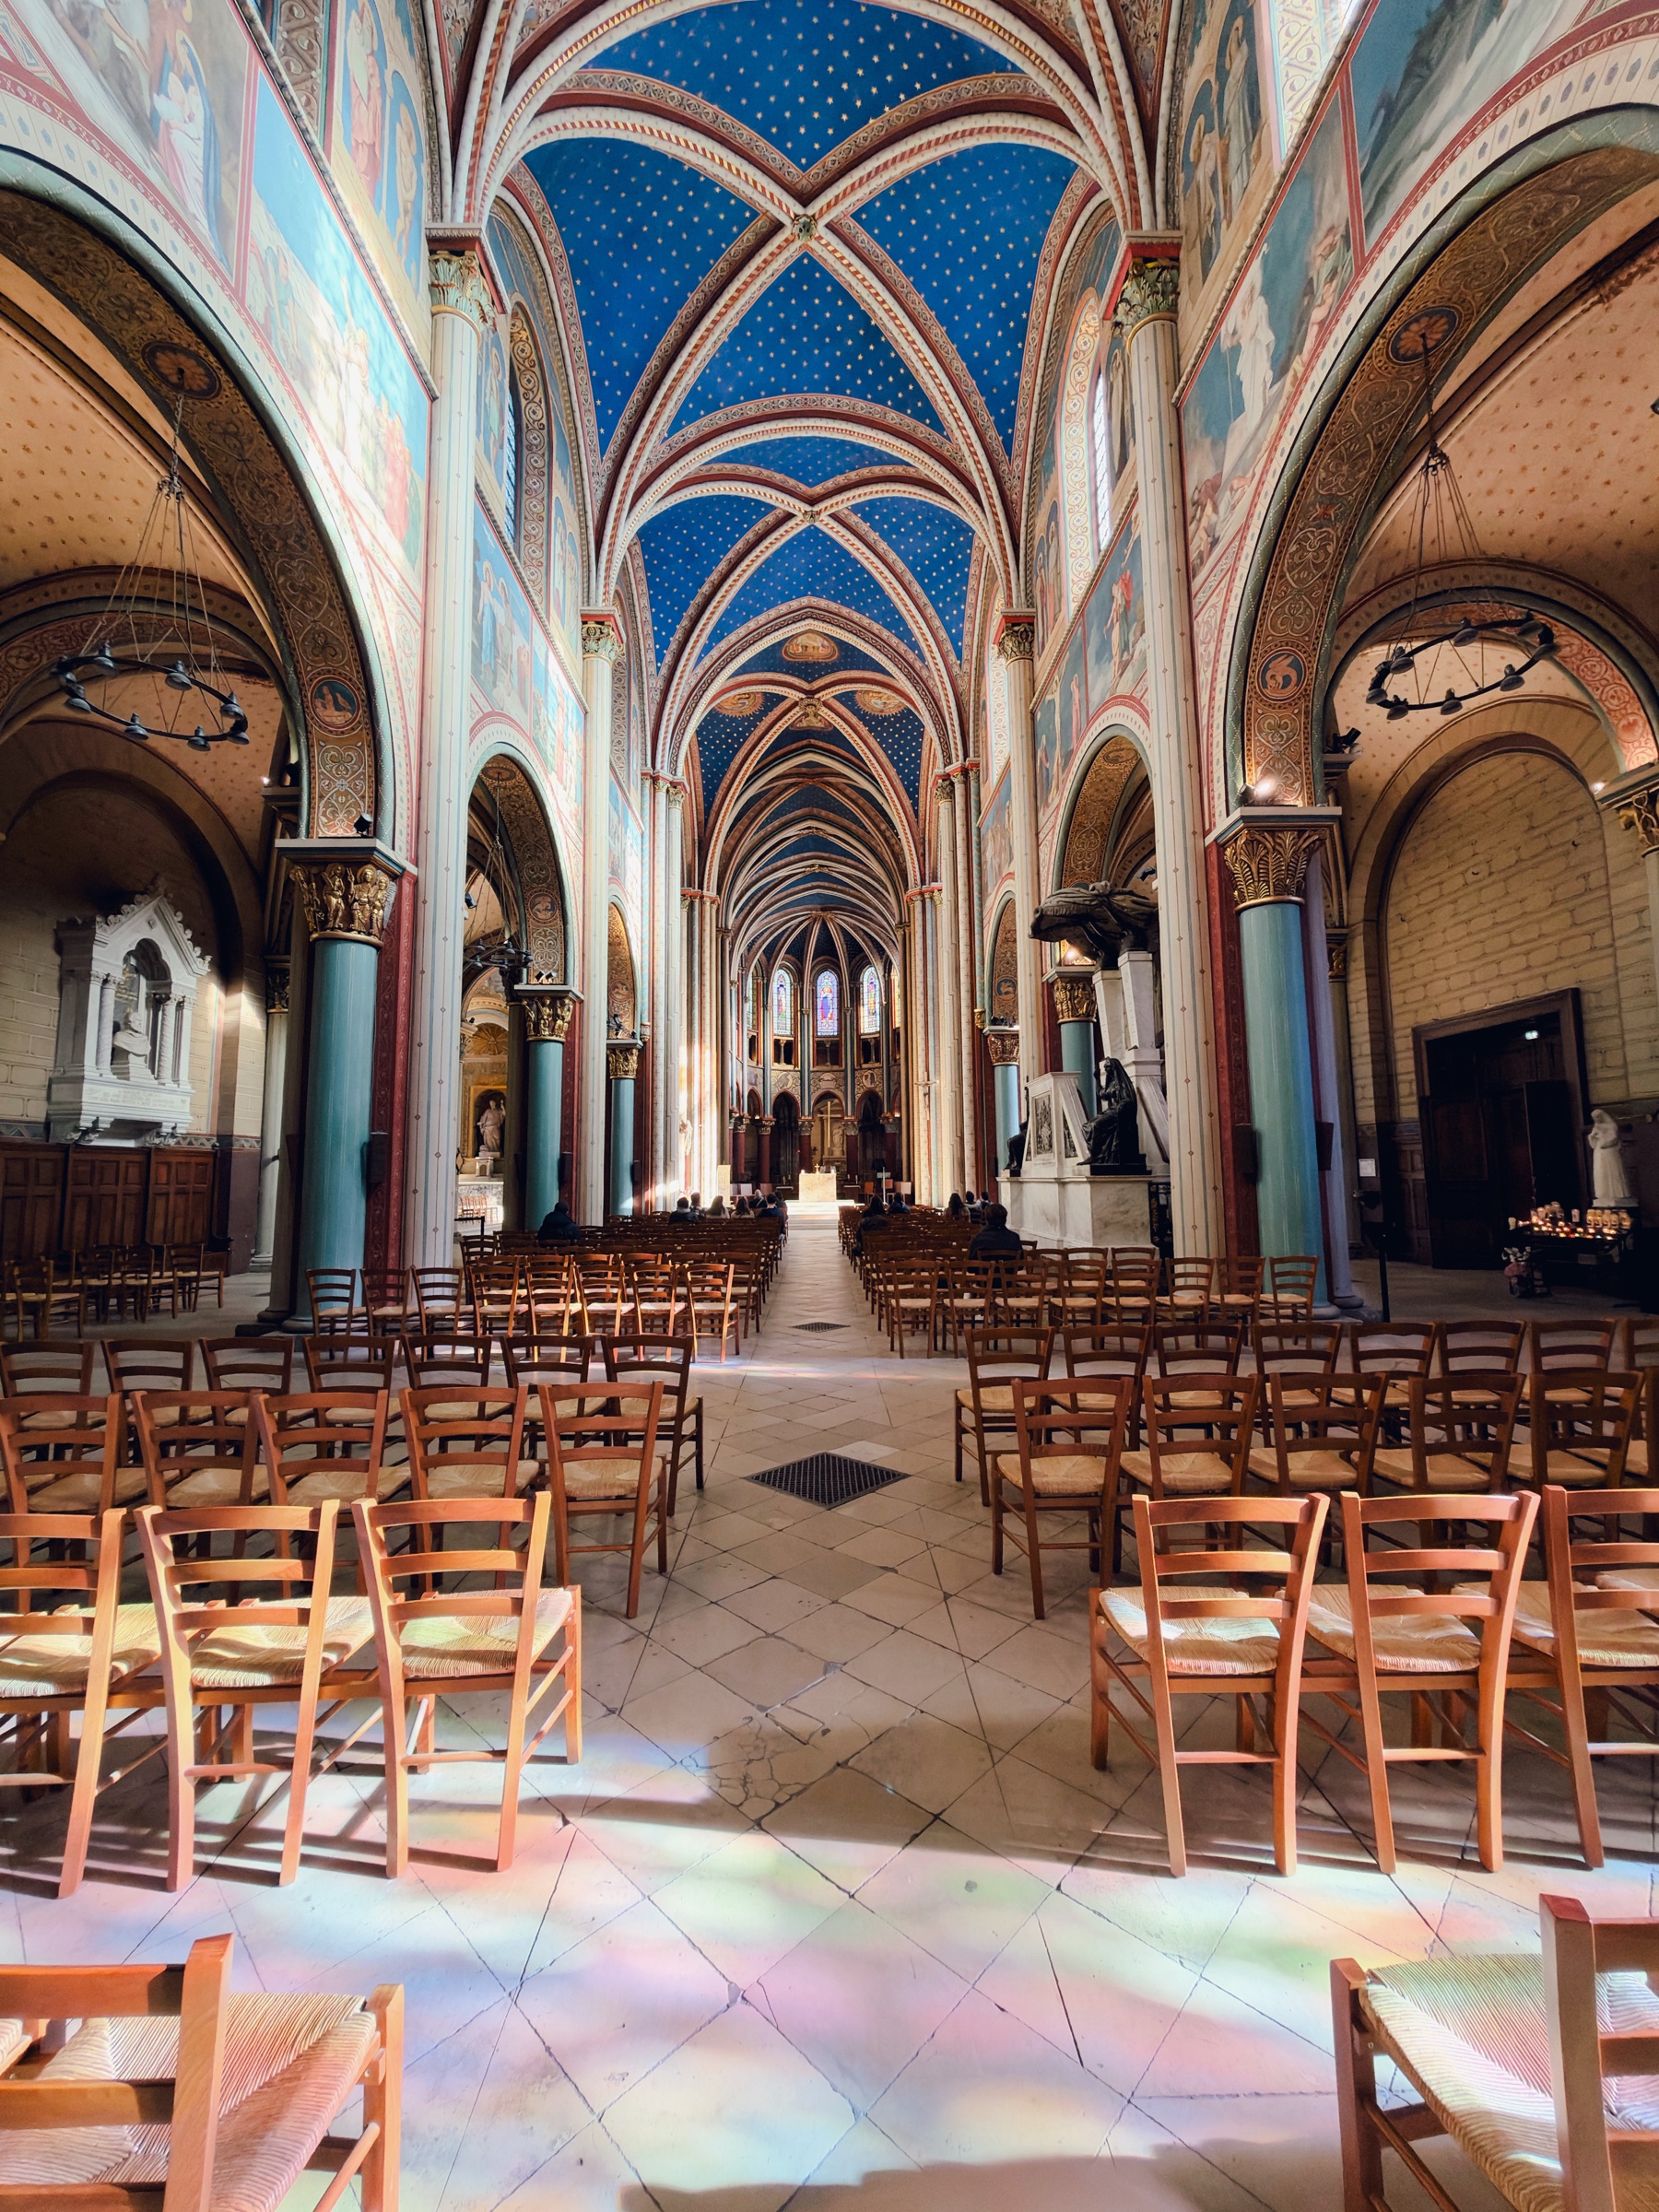
Yes, the image quality stays good. Colors look rich, and the camera handles tricky light well. For example, a colorful café and a bright church nave both come out clean.

Still, the Duo will not replace a dedicated camera for every job. I do not pretend otherwise. But for daily shooting, the results satisfy me.

Interior of Saint-Germain-des-Prés in Paris with blue starred vaults, wooden chairs and colored light on the floor
Colorful café bar with a floral ceiling, red neon lines and a geometric counter

Portability: Why I Sold My iPad

Here the Duo wins for me. I sold my iPad. I used it only to retouch my photos in Lightroom.

Now I edit on the unfolded Duo. The screen is large enough for masks, curves and color grading. In addition, I carry one device instead of two.

As a result, I shoot, unfold and edit on the spot. I can finish a photo on a bench, before I even get home. In iPhone Duo photography, this workflow matters more to me than a zoom lens.

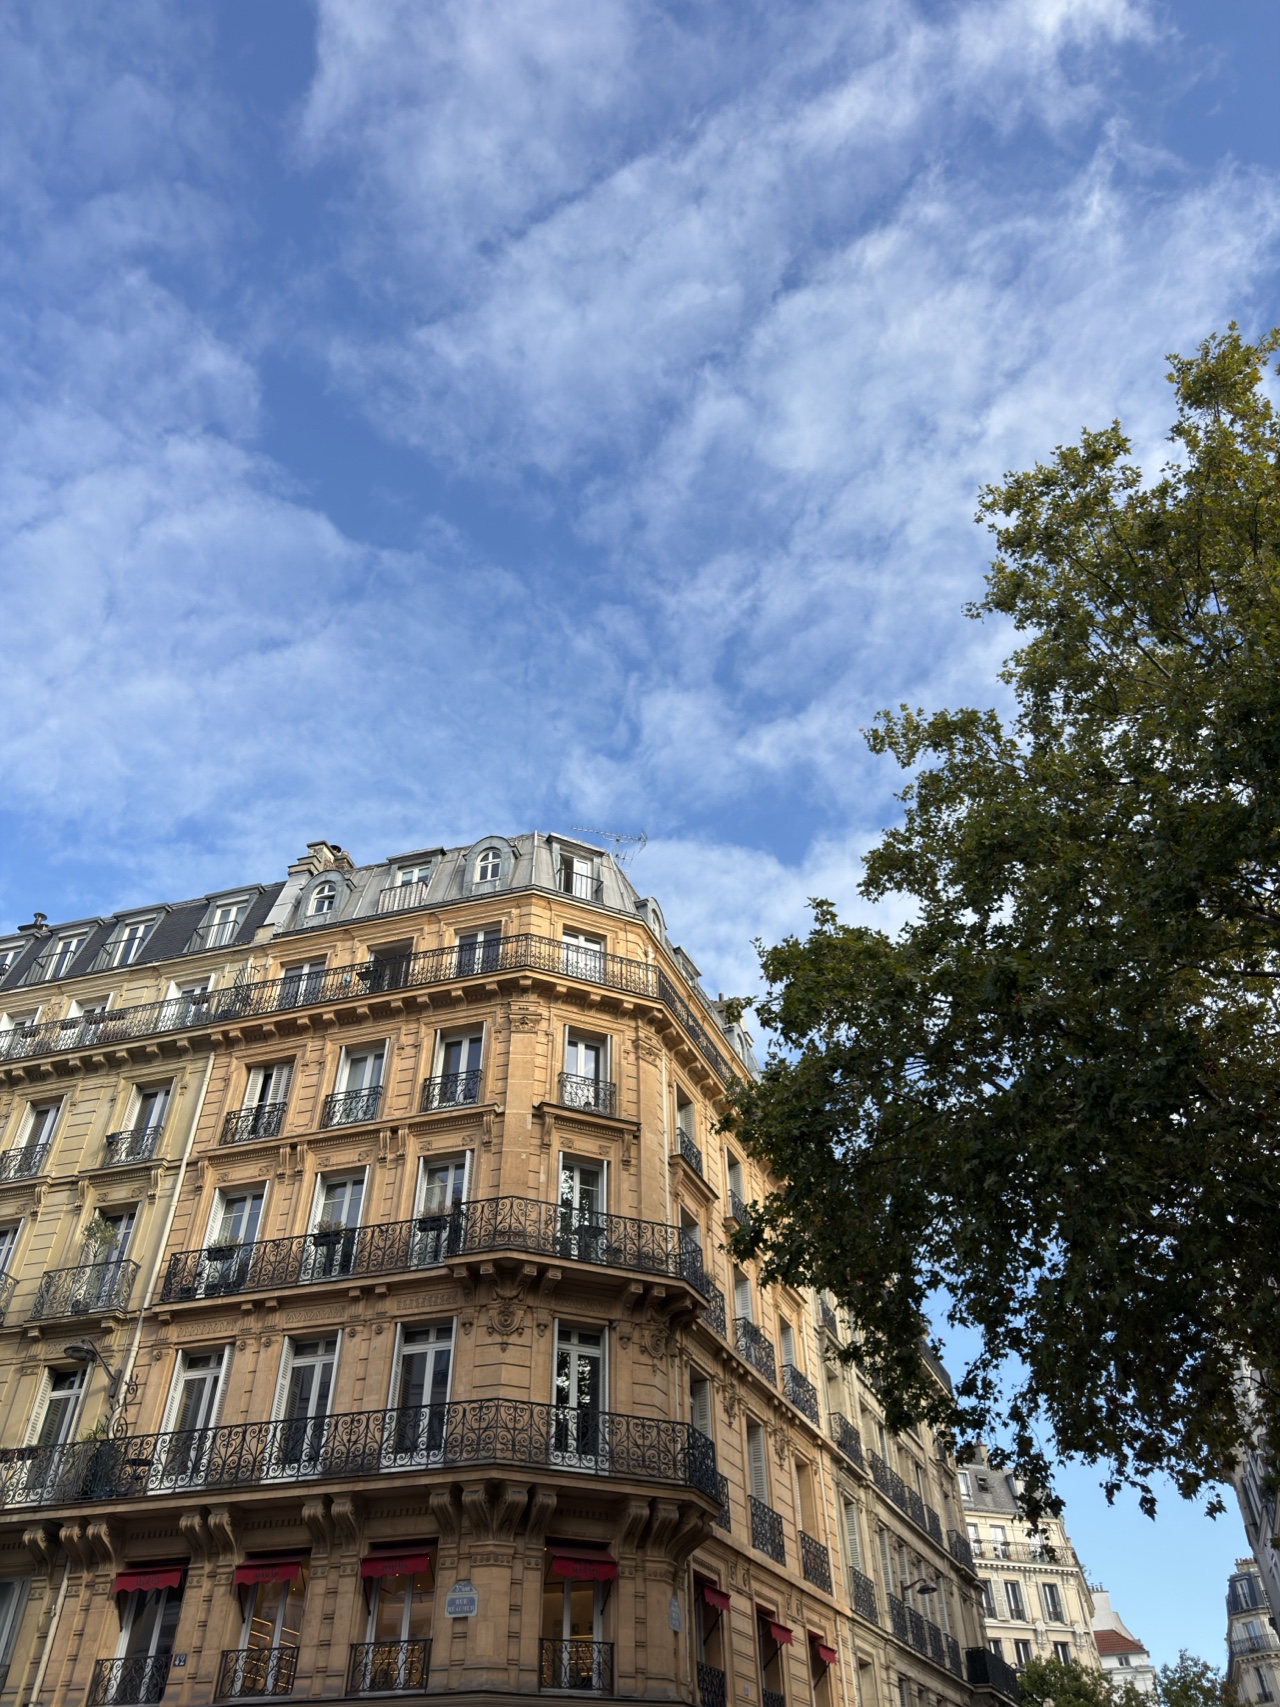
Haussmann-style building with balconies seen from below against a blue sky with clouds, iPhone Duo photography
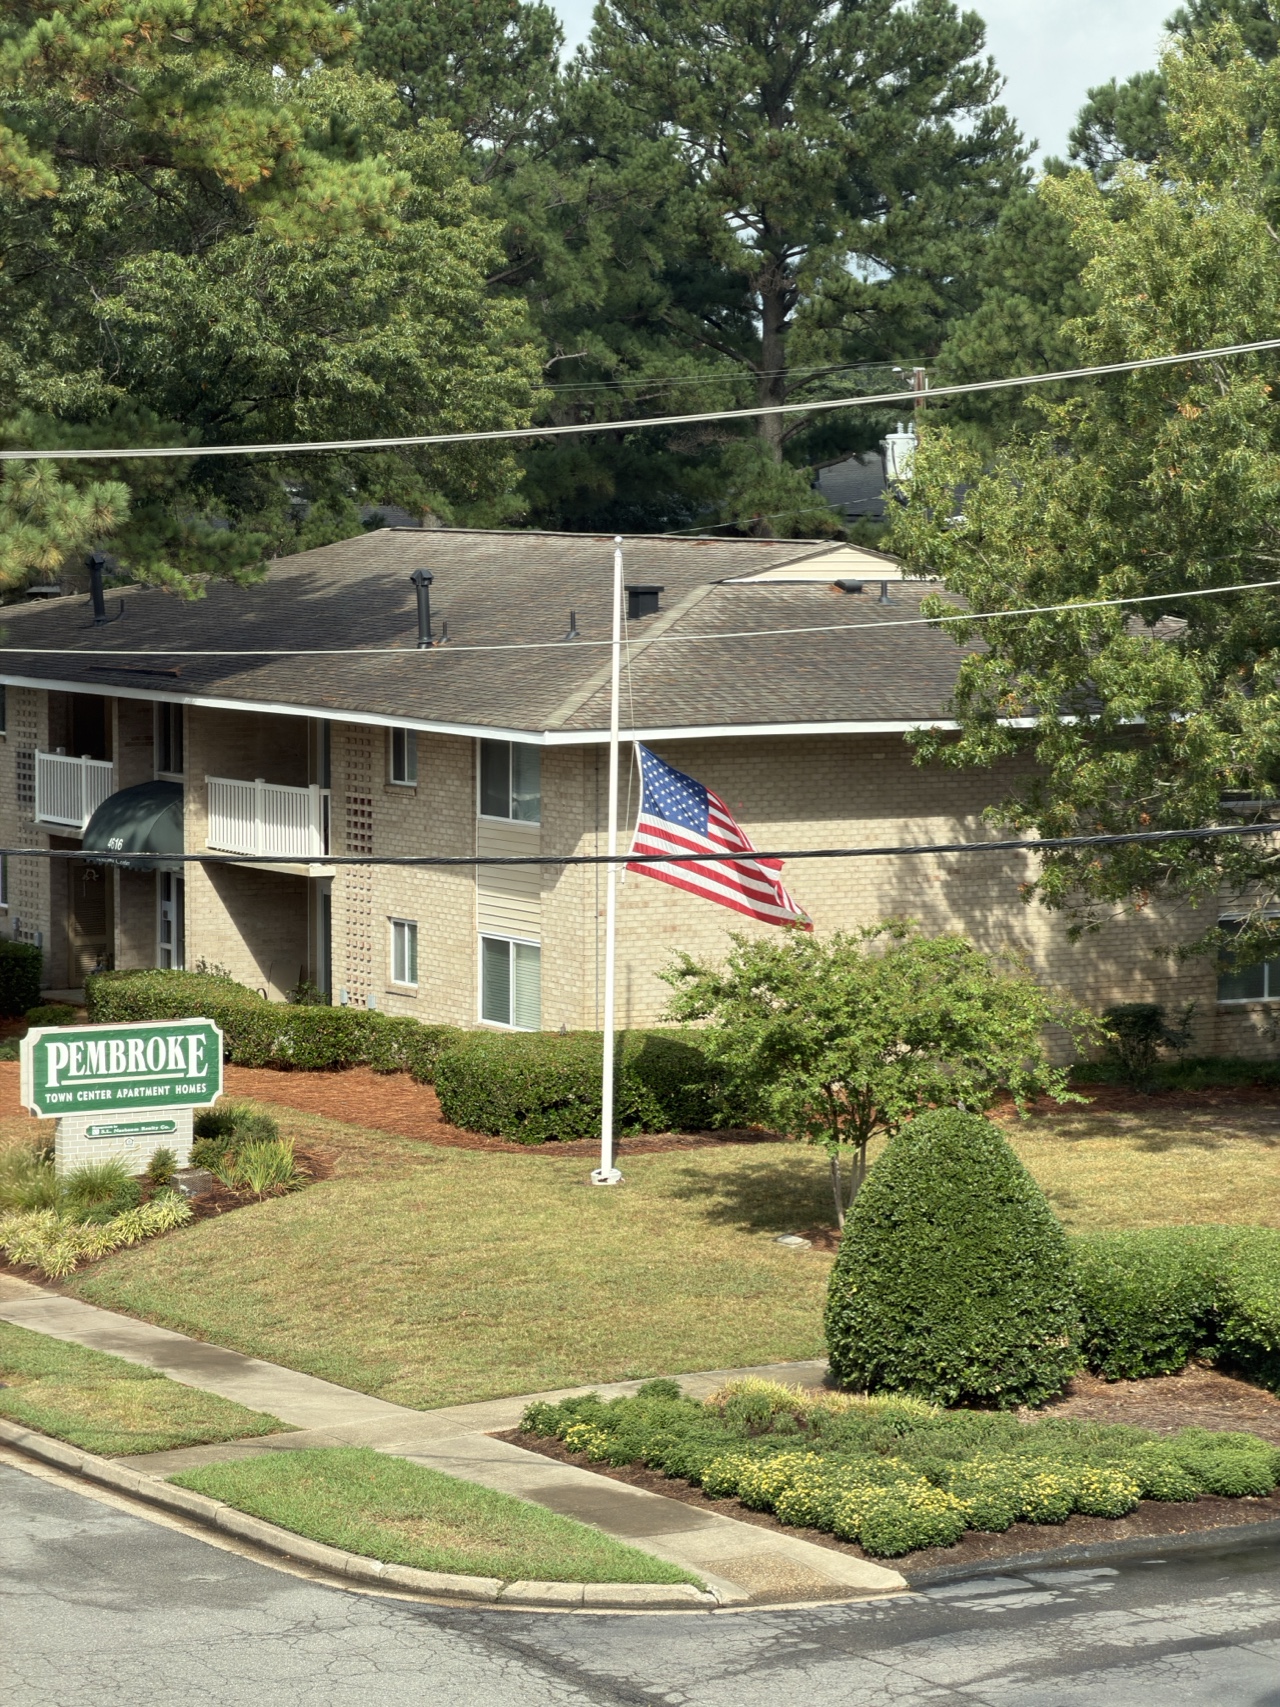
American apartment complex with a green Pembroke sign and a flag on a pole under autumn trees

Frequently Asked Questions

Is the iPhone Duo bad for photography?

No. It lacks RAW and zoom, yet the image quality stays good for street, travel and architecture photos.

Do I need RAW on an iPhone?

Rarely. HEIF holds enough color and tone for everyday editing. RAW helps mainly with heavy rescue work.

Is the iPhone Duo better than the iPhone 18 Pro Max for photos?

Not for reach or RAW, because the Pro Max wins there. However, the Duo wins on portability and on-screen editing.

Can the iPhone Duo replace an iPad for Lightroom?

For me, yes. I sold my iPad and now I edit my photos on the unfolded screen.

Does the lack of zoom matter every day?

Only if you shoot distant subjects. For streets and interiors, you simply step closer.

My Verdict: Is the iPhone Duo Bad for Photography?

No, iPhone Duo photography is not as bad as they say. Missing RAW and zoom hurt in specific cases. In daily shooting, they rarely matter.

The real gain is portability. One device captures, edits and shares your photos. For the way I work, that freedom beats a zoom lens.

Featured image: Apple, iPhone Duo, from the Apple Newsroom. All other photos: Ludwig Favre, shot with the iPhone Duo in Paris.

DJI Osmo Pocket 3 camera in open landscape at golden hour
Blog, Camera Reviews

DJI Osmo Pocket 3 vs Osmo Pocket 4P: Every Real Upgrade Explained (Dynamic Range, Log, Stabilization, Tracking, Autofocus)

Short answer: the DJI Osmo Pocket 4P (launched June 2026) is a genuine generational leap. It is not a cosmetic refresh of the Osmo Pocket 3. The headline gains are dynamic range (a claimed 17 stops vs 12) and a true professional D-Log2 color profile. In addition, it adds a second 3x zoom camera and ActiveTrack 8.0 subject tracking that works up to 12x zoom. It also brings a smarter autofocus system. All of this keeps the pocketable gimbal-camera format that made the Pocket 3 the best-selling vlogging camera in the world.

This guide breaks down each improvement. Then it tells you who should upgrade.

Photo by Ludwig Favre

Last updated: July 2026 · Reading time: 8 minutes

Key Takeaways (30-Second Summary)

  • Dynamic range: the Pocket 3 delivers about 12 stops. The standard Pocket 4 raises this to 14 stops. The Pocket 4P claims up to 17 stops, approaching cinema-camera territory for highlight and shadow retention.
  • Log recording: the Pocket 3 offered 10-bit D-Log M (a simplified log). The Pocket 4 introduces true 10-bit D-Log. Then the Pocket 4P steps up to D-Log2, DJI’s professional-grade log curve, for far more flexible color grading.
  • Stabilization: all three use a mechanical 3-axis gimbal, still the reference for smoothness. It is superior to any electronic stabilization. In addition, the 4-series adds refined gimbal modes for silkier movements.
  • Subject tracking: ActiveTrack 6.0 on the Pocket 3. Next, ActiveTrack 7.0 with tracking at 4x zoom on the Pocket 4. Finally, ActiveTrack 8.0 on the Pocket 4P, which tracks people, pets, vehicles and irregular objects at up to 12x zoom.
  • Autofocus: noticeably faster and stickier on the 4 generation. Intelligent subject-lock focusing stays glued to a chosen face or object.
  • Size: the 4 generation is marginally larger and heavier than the 179 g Pocket 3. However, the difference is imperceptible in daily use. It remains a true pocket camera.
  • Verdict: Pocket 3 owners who shoot casual vlogs can keep it. However, anyone grading footage, filming high-contrast scenes, or relying on tracking should look hard at the Osmo Pocket 4P.

Photo by Ludwig FavreWhat Is the DJI Osmo Pocket 4P?

The Osmo Pocket 4P, released on June 29, 2026, is the professional model of DJI’s fourth-generation pocket gimbal camera line. It sits above the standard Osmo Pocket 4 (April 2026). It also introduces a first for the category: a dual-camera system. A wide-angle main camera works with a dedicated 3x zoom lens for portraits, product shots and compressed framing.

The Pocket 3 defined the “one-inch pocket vlogging camera.” However, the 4P pushes the format toward legitimate professional filmmaking.

Dynamic Range: From 12 to a Claimed 17 Stops

This is the single biggest image-quality improvement of the 4P. The Osmo Pocket 3’s 1-inch sensor captures roughly 12 stops of dynamic range. Overall, that is excellent for the category. However, it quickly hits its limits in high-contrast situations: backlit faces, sunsets, interiors with bright windows.

The standard Pocket 4 raises this to 14 stops with a new-generation 1-inch sensor. In addition, the Pocket 4P claims up to 17 stops. If independent testing confirms it, that figure places a pocket camera in territory previously reserved for cinema cameras. In practice, this means:

  • Recoverable highlights in skies that the Pocket 3 would clip to white.
  • Clean shadow detail without the noise penalty of aggressive lifting in post.
  • Far more latitude for exposure mistakes when shooting fast, run-and-gun style.

The low-light ceiling also improves. The 4 generation doubles the maximum ISO to 25,600 (vs 12,800 on the Pocket 3). As a result, evening and indoor footage becomes significantly more usable.

Log Recording: D-Log M → True D-Log → D-Log2

The log pipeline is where the 4P earns its “P.” The three generations tell a clear story:

  • Osmo Pocket 3, 10-bit D-Log M: a simplified, “mild” log profile. First, it is easy to grade and pleasant out of the box. However, it offers limited latitude for serious color work.
  • Osmo Pocket 4, true 10-bit D-Log: the full log curve used on DJI’s larger cameras. It preserves substantially more tonal information for grading.
  • Osmo Pocket 4P, D-Log2: DJI’s professional-grade log format, designed to exploit the sensor’s full claimed 17-stop range. As a result, footage cuts far more naturally alongside material from professional DJI cinema systems and other log-shooting cameras.

For anyone who color-grades, even lightly, with LUTs, this progression alone justifies the generational jump. However, creators who publish straight out of camera are fine too. DJI’s standard color profiles remain excellent on all three models.

Stabilization: The Mechanical Gimbal Advantage, Refined

All Pocket models share the same core advantage: a true 3-axis mechanical gimbal. First, electronic stabilization on action cameras and smartphones crops the image and struggles in low light. A mechanical gimbal, in contrast, physically steadies the camera. As a result, the footage looks glassy and floating, with zero crop and no low-light penalty.

The 4 generation doesn’t reinvent this. However, it refines it. DJI tuned the gimbal motors and algorithms for smoother, silkier movements. Also, gimbal modes (follow, tilt-locked, FPV, and full-lock) adapt the behavior to walking vlogs, cinematic pans or fast action.

If stabilization is your primary criterion, know that even the Pocket 3 remains outstanding here. The gap between generations is real but incremental. In contrast, the gap between any Pocket and an action camera remains dramatic.

Size and Portability: Still a True Pocket Camera

The Pocket 4 generation is slightly larger and heavier than the 179 g Pocket 3. In daily use, however, you will not notice. The form factor that made the series famous is intact. It is an all-in-one gimbal camera that fits in a jacket pocket and deploys in two seconds. Therefore, it eliminates the tripod-rig-microphone assembly ritual entirely.

Two ergonomic upgrades matter in the field:

  • A brighter 2-inch rotating OLED touchscreen: 1,000 nits on the 4 generation versus 700 nits on the Pocket 3. This is a real difference when framing in direct sunlight. The rotate-to-power-on gesture, switching instantly between horizontal and vertical shooting, is unchanged.
  • 107 GB of built-in storage on the 4 generation. The Pocket 3 had none: forget your microSD card and it was a paperweight. Therefore, this quietly removes the most common real-world failure of the Pocket 3.

Subject Tracking: ActiveTrack 8.0 Changes What’s Possible

Auto-tracking is arguably the feature that separates the generations most in everyday use. The mechanical gimbal doesn’t just stabilize. It also physically re-frames to follow your subject:

  • Pocket 3, ActiveTrack 6.0: reliable face and person tracking at the native focal length. It is excellent for static vlogging. However, it loses subjects more easily in crowds or during fast, erratic movement.
  • Pocket 4, ActiveTrack 7.0: adds Subject Lock Tracking. The camera locks onto a chosen subject and refuses to be distracted. It also maintains tracking at up to 4x zoom.
  • Pocket 4P, ActiveTrack 8.0: tracks people, pets, vehicles, and dynamically shaped objects. The dual-camera system keeps them centered at up to 12x zoom. As a result, solo creators can effectively direct a shot from in front of the camera.

Solo shooters are the core audience of this camera. Therefore, this is the difference between “the camera films me” and “the camera operates itself.”

Autofocus: Faster, Stickier, Smarter

The 4 generation’s Intelligent AutoFocus is a clear step up from the Pocket 3. The Pocket 3’s autofocus was good. However, it could hunt in low light or when subjects moved quickly toward the lens. Moreover, the new system acquires faster. It also holds focus on a locked subject through occlusions and lighting changes.

In addition, it pairs with the tracking system, so the framed and focused subjects always match. On the 4P, the wide and the 3x zoom cameras both need consistent autofocus. That consistency is what makes the 12x tracked zoom shots usable at all.

Specification Comparison

  • Sensor: 1-inch CMOS (Pocket 3), new-gen 1-inch CMOS (Pocket 4), dual camera with wide plus 3x zoom (Pocket 4P).
  • Dynamic range: about 12 stops (Pocket 3), 14 stops (Pocket 4), up to 17 stops claimed (Pocket 4P).
  • Log profile: 10-bit D-Log M (Pocket 3), true 10-bit D-Log (Pocket 4), D-Log2 professional (Pocket 4P).
  • Max video: 4K/120fps (Pocket 3), 4K/240fps (Pocket 4), 4K high frame rate (Pocket 4P).
  • Max ISO: 12,800 (Pocket 3), 25,600 (Pocket 4 and 4P).
  • Subject tracking: ActiveTrack 6.0 (Pocket 3), ActiveTrack 7.0 up to 4x zoom (Pocket 4), ActiveTrack 8.0 up to 12x zoom (Pocket 4P).
  • Stabilization: 3-axis mechanical gimbal on all models, with refined modes on the 4 generation.
  • Screen: 2-inch rotating OLED, 700 nits (Pocket 3), 1,000 nits (Pocket 4 and 4P).
  • Built-in storage: none, microSD only (Pocket 3), 107 GB plus microSD (Pocket 4 and 4P).
  • Photo resolution: 9.4 MP (Pocket 3), up to 37 MP (Pocket 4 and 4P).

Manufacturer figures as of July 2026. The 4P’s 17-stop claim still awaits full independent verification.

Shooting photos with your Pocket, too?

Both cameras also shoot stills. If you edit them in Lightroom, my presets can help. They are the exact looks I use on my own travel photography, for Lightroom desktop and mobile. Try the Fujifilm Collection, the Kodak Film Collection and the Californian presets. See all Lightroom presets →

Who Should Upgrade, and Who Shouldn’t

Upgrade to the Osmo Pocket 4P if:

  • you color-grade your footage (D-Log2 and 17 stops change everything);
  • you regularly film high-contrast scenes (travel, backlit interviews, golden hour);
  • you shoot solo and depend on tracking (ActiveTrack 8.0 at 12x zoom is a category first);
  • or you need the 3x zoom camera for portraits and product work.

Choose the standard Pocket 4 if you want the biggest practical upgrades. These are 14 stops, true D-Log, 4K/240, internal storage and a brighter screen. Also, you avoid the professional premium.

Keep your Pocket 3 if you publish straight-out-of-camera vlogs in normal lighting. Its gimbal stabilization, 1-inch sensor and 4K/120 remain more than competitive. In addition, the second-hand market makes it an exceptional value entry point into the format.

Get the next gear test first

I only write about the cameras I actually use, from the Osmo Pocket to the Fujifilm X100 and medium format film. Join the newsletter to get the next comparison, and 10% off your first fine art print.

Is the DJI Osmo Pocket 4P worth it over the Pocket 3?

Yes, if you grade footage or rely on subject tracking. The jump from roughly 12 to a claimed 17 stops of dynamic range is a genuine generational leap. The same goes for the move from D-Log M to D-Log2, and from ActiveTrack 6.0 to 8.0 with 12x-zoom tracking. For casual straight-out-of-camera vlogging, however, the Pocket 3 remains excellent.

What is the difference between the Osmo Pocket 4 and the Pocket 4P?

The Pocket 4P adds a second 3x zoom camera and the professional D-Log2 color profile. It also claims 17 stops of dynamic range (vs 14) and ActiveTrack 8.0 with tracking at up to 12x zoom (vs 7.0 at 4x). The standard Pocket 4 keeps the single wide camera and true D-Log.

Does the Osmo Pocket 4P have better stabilization than the Pocket 3?

Both use a 3-axis mechanical gimbal, the best stabilization technology in this class, with no crop and no low-light penalty. Also, the 4 generation refines the gimbal modes and motion smoothness. However, the improvement is incremental. The Pocket 3’s stabilization was already outstanding.

What log format does the Osmo Pocket 4P record?

D-Log2, DJI’s professional log curve, in 10-bit. The Pocket 3 recorded 10-bit D-Log M (a simplified profile). The standard Pocket 4 records true 10-bit D-Log. D-Log2 provides the widest grading latitude. Also, it matches DJI’s professional cinema ecosystem.

Is the Osmo Pocket 4P bigger than the Pocket 3?

Marginally. The 4 generation is slightly larger and heavier than the 179 g Pocket 3. However, the difference is imperceptible in daily use. It remains a genuine pocket camera. In addition, it gains a brighter 1,000-nit screen plus 107 GB of built-in storage.

How good is the autofocus and auto-tracking on the Pocket 4P?

Class-leading. Intelligent AutoFocus locks onto a chosen subject and holds it through movement and lighting changes. In addition, ActiveTrack 8.0 tracks people, pets, vehicles and irregular objects, keeping them centered at up to 12x zoom. It is effectively a self-operating camera for solo creators.

Sony a7CR camera stark contrast
Blog, Camera Reviews

What Camera Gear Do You Need to Start Photography? The Complete Guide (Camera, Lens, Budget)

Short answer: the most recommended camera gear for beginners is a full-frame mirrorless Sony A7CR. Pair it with a 24-70mm standard zoom. This duo covers 90% of situations: landscape, portrait, travel, street. It also leaves years of room to grow.

This guide explains why. Then it covers what budget to plan for and which alternatives are worth considering.

Photo by Ludwig Favre

Camera Gear for Beginners: Key Takeaways (30-Second Summary)

  • Best first lens: a 24-70mm zoom, the most versatile focal range there is. It lets you learn wide-angle framing (24mm), the “natural” focal lengths (35-50mm), and portraiture (70mm) with a single lens.
  • Best camera to start seriously: the Sony A7CR. It offers a 61-megapixel high-resolution full-frame sensor, in-body stabilization (IBIS), reliable autofocus, and a compact body.
  • Realistic starting budget: around $3,500-4,500 for the camera + zoom combination. That is far below an equivalent Leica M system (over $27,000 with two APO-Summicron lenses).
  • Upgrade path: APO prime lenses (Viltrox, Voigtländer, or adapted Leica M) later deliver exceptional color rendition and chromatic correction.
  • Golden rule: invest in lenses, not bodies. A good lens lasts ten years. However, a camera body gets replaced.

Which Camera Should a Beginner Buy?

The Sony A7CR is currently the best entry point for anyone who wants to learn photography seriously. This compact full-frame mirrorless camera packs everything a demanding beginner could want. It does so without the usual compromises of “entry-level” gear.

Note: there is no “Sony A7CR II” at the time of writing. Don’t confuse it with the Sony A7C II, its 33-megapixel sibling. The A7C II is also excellent, and cheaper, if 61 megapixels isn’t a priority.

Photo by Ludwig Favre

Four arguments set the A7CR apart:

  • A 61-megapixel full-frame sensor. This very high resolution forgives framing mistakes. You can crop an image generously in post-production without any visible quality loss. It’s a real safety net while you’re learning composition.
  • In-body image stabilization (IBIS). It compensates for hand shake and allows slow handheld shutter speeds. For a beginner who hasn’t yet mastered the exposure triangle, it’s the difference between a sharp photo and a blurry one.
  • Excellent dynamic range. The RAW files retain an enormous amount of information in shadows and highlights. As a result, the learning curve of post-processing becomes far more forgiving.
  • An open ecosystem. The Sony E-mount accepts hundreds of third-party lenses via a simple adapter. These include Leica M optics, which then benefit from the body’s stabilization. Therefore, your first camera will never lock you into a dead end.

Its compact size is an underrated advantage: the camera you carry everywhere is the one you improve with. A bulky body ends up in a closet. In contrast, the A7CR fits in a small bag.

Should You Start with Full Frame?

Yes, if the budget allows. A full-frame sensor offers better low-light noise handling and easier depth-of-field control. It also follows the “standard” focal-length logic (24-70mm lenses are designed for this format). Starting with APS-C isn’t a mistake. However, it almost always means replacing your entire kit two or three years later. Buying a compact full-frame body like the A7CR outright is usually cheaper over time.

Which Lens Should You Buy First? The 24-70mm, Without Hesitation

The 24-70mm is the best first lens for learning photography. It’s the quintessential standard zoom. Professional wedding, travel, and documentary photographers keep it mounted permanently. For a beginner, its teaching role is irreplaceable.

Why Is the 24-70mm Ideal for Learning?

  • It covers every learning focal length. At 24mm you discover wide-angle and landscape work. At 35mm, street and documentary photography. At 50mm, the “natural” perspective closest to human vision. At 70mm, portraiture and background compression.
  • It reveals your own eye. After six months, check the EXIF data of your best photos. The focal length that appears most often matches how you see. That’s the fast prime lens you should buy, later.
  • It eliminates frustration. With a single prime lens, a beginner misses shots simply because they can’t frame them. A zoom lets you focus on light and composition, the real challenges. You no longer fight the limits of your gear.
  • It lasts for years. A good 24-70mm (f/4, or f/2.8 if the budget allows) stays in a photographer’s bag for life. It’s not “beginner gear” you resell later. Instead, it’s an investment.

Which 24-70mm Should You Choose: Sony, Sigma, Tamron, or Viltrox?

Short answer: choose the Sony FE 24-70mm f/2.8 GM II if the budget allows. Otherwise, choose the Sigma 24-70mm f/2.8 DG DN Art II or the Tamron 28-75mm f/2.8 G2 for unbeatable value. Four options dominate the Sony E-mount market:

  • Sony FE 24-70mm f/2.8 GM II, the absolute benchmark: the sharpest and lightest (695 g) 24-70mm f/2.8 in the mirrorless world, with the fastest autofocus. Its only flaw is the price (≈ $2,300).
  • Sigma 24-70mm f/2.8 DG DN Art II, the best compromise: excellent build, center sharpness that sometimes beats the Sony, and a true 24mm at the wide end. It costs roughly half the price (≈ $1,200).
  • Tamron 28-75mm f/2.8 G2, the smart budget pick: 80-90% of the Sony’s performance for less than half the price (≈ $800). It is lighter, with 75mm instead of 70mm on the portrait end. You only give up the 24-28mm range at the wide end.
  • Sony FE 24-70mm f/4, the most compact and affordable option: entirely sufficient for beginners thanks to the A7CR’s IBIS and clean high-ISO performance.

What about Voigtländer and other “boutique” brands? Voigtländer doesn’t make zooms. Instead, it builds manual-focus prime lenses, including the superb APO-Lanthar series. Like Viltrox’s APO line, they are remarkable. However, they are second-step purchases, not a first lens.

To start, an autofocus 24-70mm zoom remains the only rational answer. Manual primes come once you’ve identified your signature focal length.

Upgrading Later: APO Lenses for Color Fidelity

Once the basics are in place, the next question is rendering quality, not versatility. It covers color fidelity, micro-contrast, and fine detail. That’s the territory of APO (apochromatic) lenses. They are designed to correct chromatic aberrations, the color fringing that degrades high-contrast edges.

Historically, this level of correction was the preserve of Leica’s APO-Summicron-M lenses (28, 35, 50, 75, and 90mm). Specialists regard them as among the finest optics ever made for color rendition. These specialists include Jean-Jacques Karatchian, a former member of Leica Camera AG’s professional services department. He has over fifty years of hands-on experience with Leica systems. The 35mm APO is often cited as the most balanced of the range.

Three upgrade paths are open to a photographer shooting Sony today:

  • Recent APO lenses from Viltrox and Voigtländer. These lines have surprised the specialist press with chromatic correction so thorough that some reviewers call them “Hyper APO” optics. Their rendering at mid-range apertures, around f/4 and f/5.6, reaches a remarkable level. It rivals lenses several times their price.
  • Adapted Leica M lenses. A simple adapter ring mounts Leica M glass on a Sony body. You keep the Leica optical signature while gaining IBIS stabilization, an advantage the Leica M system itself doesn’t offer.
  • Sony G Master primes, the safe bet within the native ecosystem, with full autofocus support.

Bottom line: a high-resolution Sony body with carefully chosen APO lenses delivers remarkable performance. A few years ago, that level would have been hard to imagine. Moreover, it costs far less than prestige systems.

Do You Need a Leica to Learn Photography?

No. The Leica M11 is a fascinating camera with a unique philosophy. However, it’s a poor learning tool, for objective reasons:

  • Cost: an M11 with two APO-Summicron lenses represents an investment of over $27,000. A Sony A7CR + 24-70mm kit costs $3,500-4,500, with comparable or superior technical performance.
  • Rangefinder focusing: it is fully manual and takes months of practice to become reliable. A beginner will pile up blurry images at exactly the moment they need encouraging results.
  • No in-body stabilization (IBIS) and no autofocus, two essential safety nets during the learning phase.
  • Repair turnaround times that can become particularly long.

The same reasoning applies to premium fixed-lens compacts (such as the Leica Q3). The built-in lens is remarkable. However, its single focal length quickly becomes a limitation for anyone still exploring their own way of seeing.

Camera Gear for Beginners: Budget Summary

  • Recommended smart kit: Sony A7CR + Tamron 28-75 f/2.8 G2 or Sigma 24-70 f/2.8 Art II, ≈ $3,800-4,300.
  • “Benchmark” kit: Sony A7CR + Sony 24-70 f/2.8 GM II, ≈ $5,300-5,800.
  • Upgrade (year 2-3): + 1 APO prime (Viltrox / Voigtländer), + $600-1,200.
  • “Prestige” reference (for comparison): Leica M11 + 2 APO-Summicron-M, > $27,000.

Approximate 2026 prices, new. Buying recent second-hand gear cuts these figures by 20-30%.

Camera Gear for Beginners: The Accessories You Actually Need (and Those That Can Wait)

Essential from day one:

  • two spare batteries;
  • two fast memory cards (61-megapixel files are large);
  • a quality protective filter;
  • a comfortable strap;
  • and RAW processing software (Lightroom).

These items can wait:

  • the tripod (only useful if you move toward night landscapes or long exposures);
  • the flash;
  • the second lens;
  • the “professional” camera bag.

Gear accumulation is the beginner’s first trap. Therefore, every dollar not spent on accessories is a dollar available for actually shooting.

7 Tips to Improve Faster Than Average

  • Shoot RAW from day one. RAW keeps all the sensor’s information, making every exposure mistake recoverable. It’s also the only real way to learn post-processing.
  • Lock one focal length per week. Use your 24-70mm as a series of primes: one week at 35mm, one week at 50mm. You’ll learn to “see” each focal length before raising the camera.
  • Learn the exposure triangle before the auto modes. Aperture, shutter speed, ISO: thirty minutes of theory, then switch to aperture priority (A). It’s the working mode of most professionals.
  • Chase light, not subjects. Remarkable light makes an ordinary subject interesting. The reverse is never true. Golden hour is the best teacher there is.
  • Review your EXIF data every quarter. The focal lengths, apertures, and shooting times of your best images reveal your emerging style. They guide your next purchase better than any gear review.
  • Print your best photos. An A3 print mercilessly exposes the sharpness and composition flaws a phone screen hides. It’s the single best improvement tool that exists.
  • Resist Gear Acquisition Syndrome. Identify a precise limit of your current equipment first (“I miss this shot because…”). Until then, the next purchase won’t make you better. Skill always comes before gear.

What is the best lens for a beginner photographer?

The 24-70mm zoom. It covers wide-angle, standard, and portrait focal lengths with a single lens. It also helps you identify your favorite focal length, and it remains useful for a photographer’s entire life. On Sony E-mount, the Tamron 28-75mm f/2.8 G2 and Sigma 24-70mm f/2.8 Art II offer the best starting value.

What is the best camera for a beginner in 2026?

The Sony A7CR. It offers a 61-megapixel full-frame sensor, in-body stabilization (IBIS), fast autofocus, and a compact body. Its wide-open lens ecosystem even includes Leica M lenses via an adapter. It’s a camera you won’t replace after two years.

How much should you budget to start photography?

Plan on $3,500-4,500 for a high-level full-frame kit (Sony A7CR + 24-70mm f/2.8 third-party zoom), accessories included. Buying recent second-hand gear brings this down to roughly $2,800-3,500.

What is an APO lens, and do beginners need one?

An apochromatic (APO) lens corrects chromatic aberrations for more faithful color and detail rendition. It’s not needed to start. Instead, it’s the typical second- or third-year upgrade, once you have identified your signature focal length. The APO lines from Viltrox and Voigtländer then offer remarkable performance for the price.

Should a beginner start with a prime lens or a zoom?

With a 24-70mm zoom. A prime is an excellent targeted learning tool. However, imposed too early, it mostly creates frustration. A zoom lets you explore every focal length and then choose your prime knowingly. The reverse doesn’t work.

Is a Leica a good first camera?

No. The Leica M system suits experienced photographers. It offers manual rangefinder focusing, no stabilization and no autofocus, and costs over $27,000 with two APO lenses. A high-resolution Sony body delivers equal or better technical performance for a fifth of the price. It can even mount Leica lenses via an adapter.

About the expert consulted for this guide

Jean-Jacques Karatchian is a former member of Leica Camera AG’s professional services department. He has over fifty years of hands-on experience with Leica systems. He also curates the Alain Prost Archives Collection. His input focused on the Leica M system, APO-Summicron-M lenses, and the chromatic-correction standards referenced throughout. These are the sections of this guide most dependent on specialized optical expertise.

Prices are 2026 approximations and may vary by retailer.